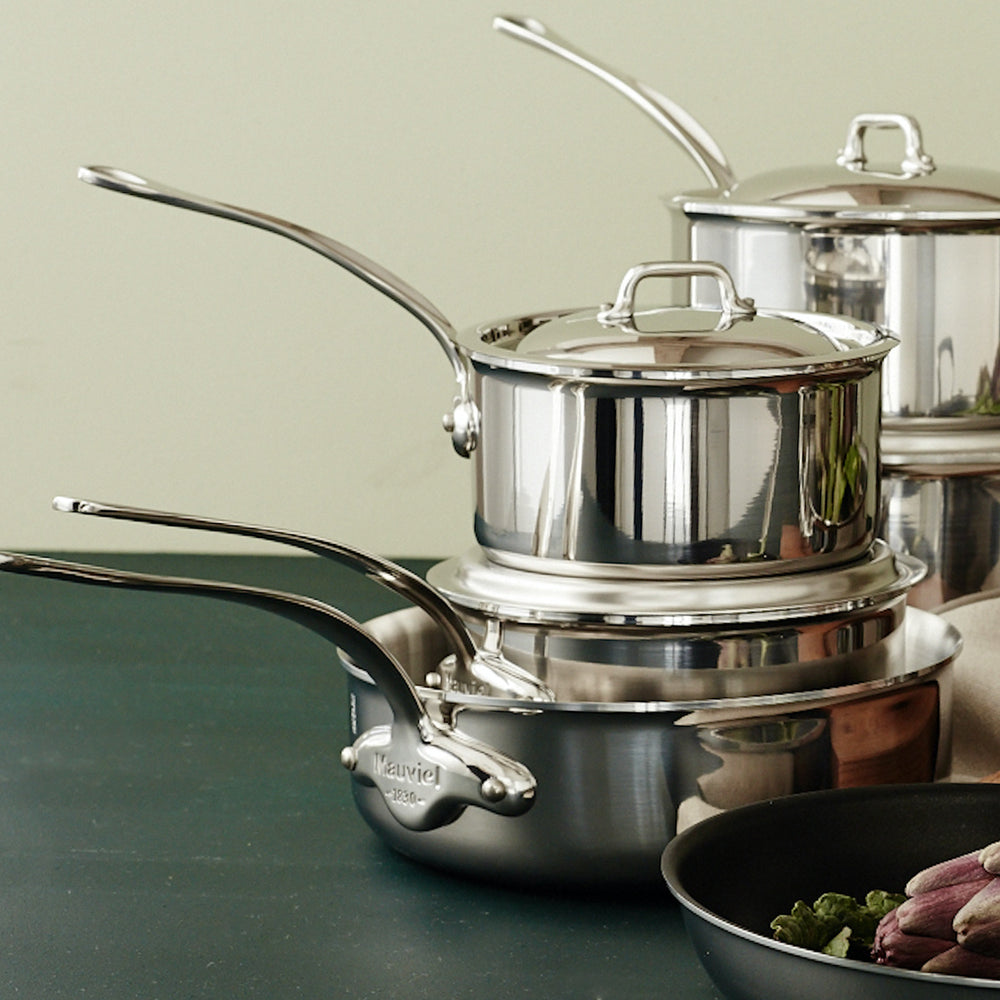
How a Mauviel Pan Is Made, From A to Z
We can list out all the details that make a Mauviel pan exceptional: how quickly it responds to heat, how comfortable the handle is, how it will perform and (with proper care) look good as new after years of heavy use. But there’s one special quality about a Mauviel pan that’s simply hard to describe in words. You’ll know it when you cook with it – the experience of cooking just feels more enjoyable.
To investigate what makes this certain ‘je ne sais quoi’ possible, we visited Mauviel’s home in Villedieu-des-les-Poêles, Normandy. We were struck by the size of the factory; to walk its entirety without pause would take less than 10 minutes at a leisurely pace. No process was automated – a person or two would carry out each step, from brushing the interior of a pan to trimming the edge.
This is extremely rare for a company of Mauviel’s scale, where 70 artisans work at the Mauviel workshop to make over 1300 different products. But it is the only way Mauviel can control the quality of their products, and stay true to their heritage of manufacturing in France.
Many of these processes, especially for copper pans from Mauviel’s M’Heritage range, have remained the same for almost 200 years. The know-how established by founder Earnest Mauviel has been ensured, protected, and built on by subsequent generations of the Mauviel family.
In this article, we’ll show you the Mauviel factory through our eyes. To illustrate the process, we broke it down into five key steps, with a focus on the Mauviel M’Cook and M’150S ranges.
1. Cutting & Moulding Into Shape
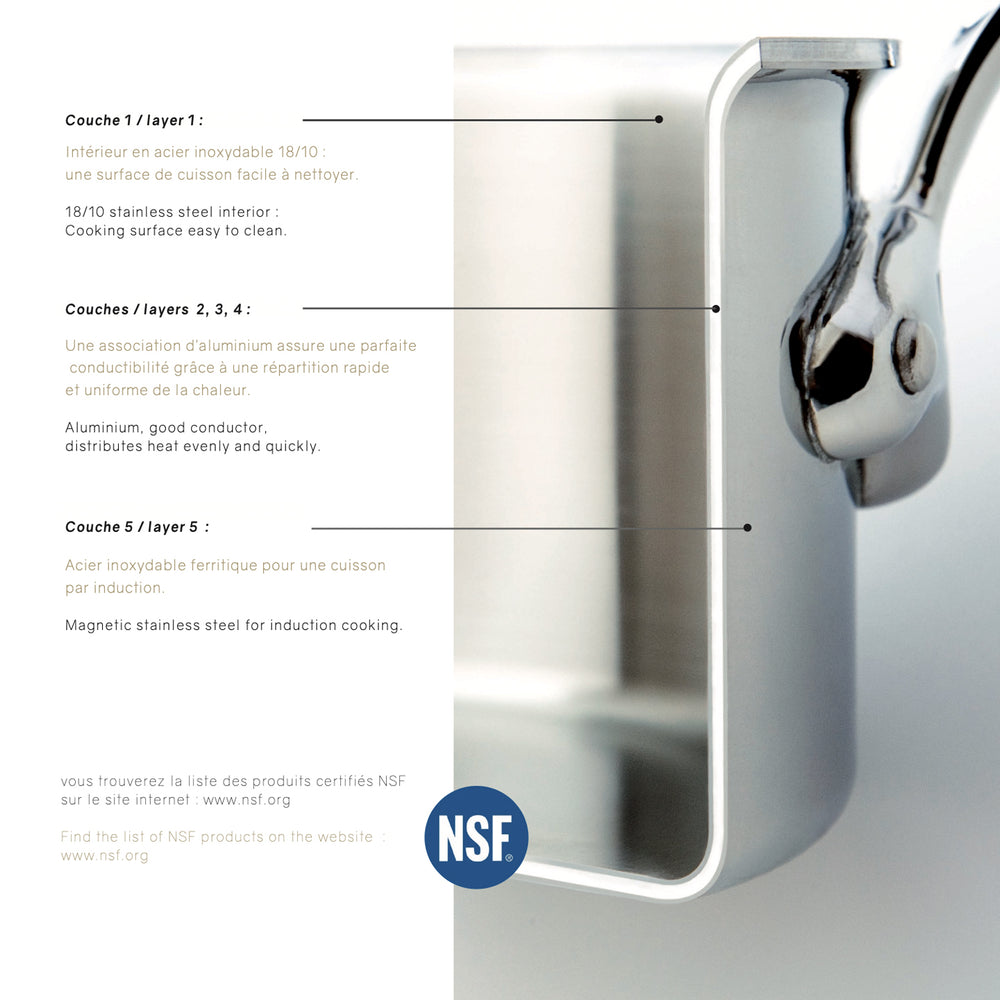
The sheets of metal Mauviel uses vary per range. For an M’Cook pan, for example, the sheet has five layers of metal: two outer layers of ferromagnetic stainless steel (for induction compatibility), and three inner layers of aluminium (for beyond-excellent heat responsiveness). For an M’150S copper pan, there are only two layers: 90% copper and 10% stainless steel.

Left: Sheets of copper for M’150S pan. Right: Off-cuts.
The sheets are cut into rounds that are wider than the pan it is going to become, then pressed into shape in a large machine, so the pan is evenly thick from the centre to the edge, which allows heat to spread quickly and evenly when cooking. The machine presses the metal sheet into a specific mould – every Mauviel pan, in every size, has its own mould.

Right: M’Cook pan moulds. Left: M’Cook sheet, before and after being pressed into shape.
2. Refining the Shape
Once the pan is moulded into shape, the shape needs to be refined, especially around the edge. To see the difference between an unrefined and a refined edge of an M’Cook saucepan, look at the image below (left). It’s important to remove that extra metal because it smooths the jagged edge left behind by the pressing machine.

Left: Unrefined and refined saucepans. Right: Curls of stainless steel shaved off the pans.
To refine the edge, a pan has to be attached to a machine that spins it vertically. A trained artisan manually shaves the edge off with a metal stick, ensuring it is even all the way around. It takes a practised hand to do this, as you must exert just the right amount of pressure and know exactly when to stop shaving.
3. Brushing the Interior
One thing that makes an M’Cook pan more stick-resistant than other stainless steel pans (though by no means non-stick) is its brushed interior – and Mauviel’s process for this step goes above and beyond. Notice the difference between a brushed and unbrushed pan, below.

This extra step of brushing the pan requires that it is put in a machine operated by an artisan who ensures the entire pan is brushed. Compared to other stainless steel pans, the brushed finish is much more pronounced, especially at the bottom edge (where the base and sides meet). That’s because the artisan finishes brushing the bottom edge by hand, as it is physically impossible for any machine to reach that area. It’s the kind of detail most companies might skip for efficiency, but most companies are not Mauviel!
4. Polishing the Exterior
The sides of Mauviel M’Cook and M’150 pans are polished for a mirror effect. This process, like the ones above, is done by hand, and requires a lot of physical effort and dexterity, especially because it generates a lot of dust. On average, it takes three to four years to learn the process of polishing a pan. These production difficulties mean pan polishing is often automated – but at Mauviel, polishing by hand is a tradition that is honoured.
First, the pan is prepared for polishing by asserting pressure on it against a wheel (below left), then it is placed into a chamber where the polish is sprayed on. The polish is robust, leaving a shine as permanent as the pan itself. (Grease from the kitchen will naturally dull the finish, but a quick cleanse with Inobrill or Copperbrill restores the original shine with ease.) Once the sides are sprayed, the pan is placed upside-down on a moving belt, where its bottoms are brushed.

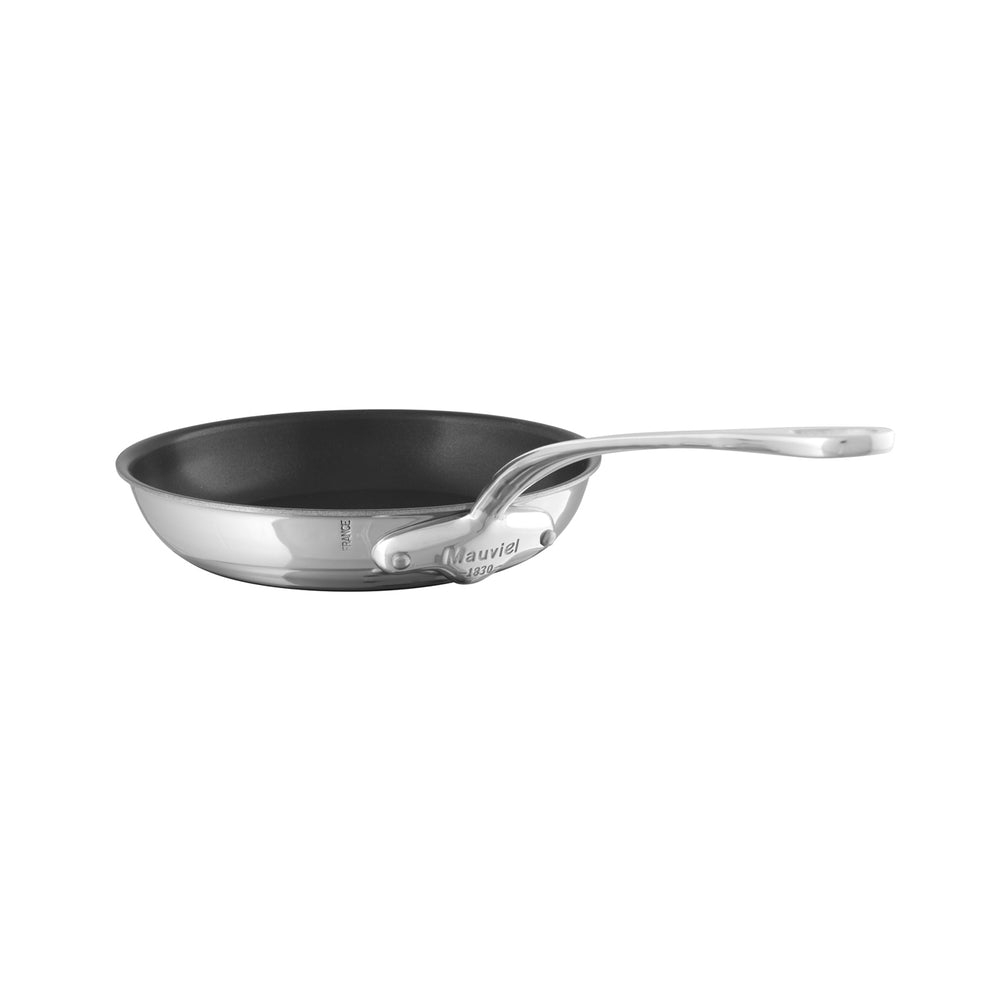
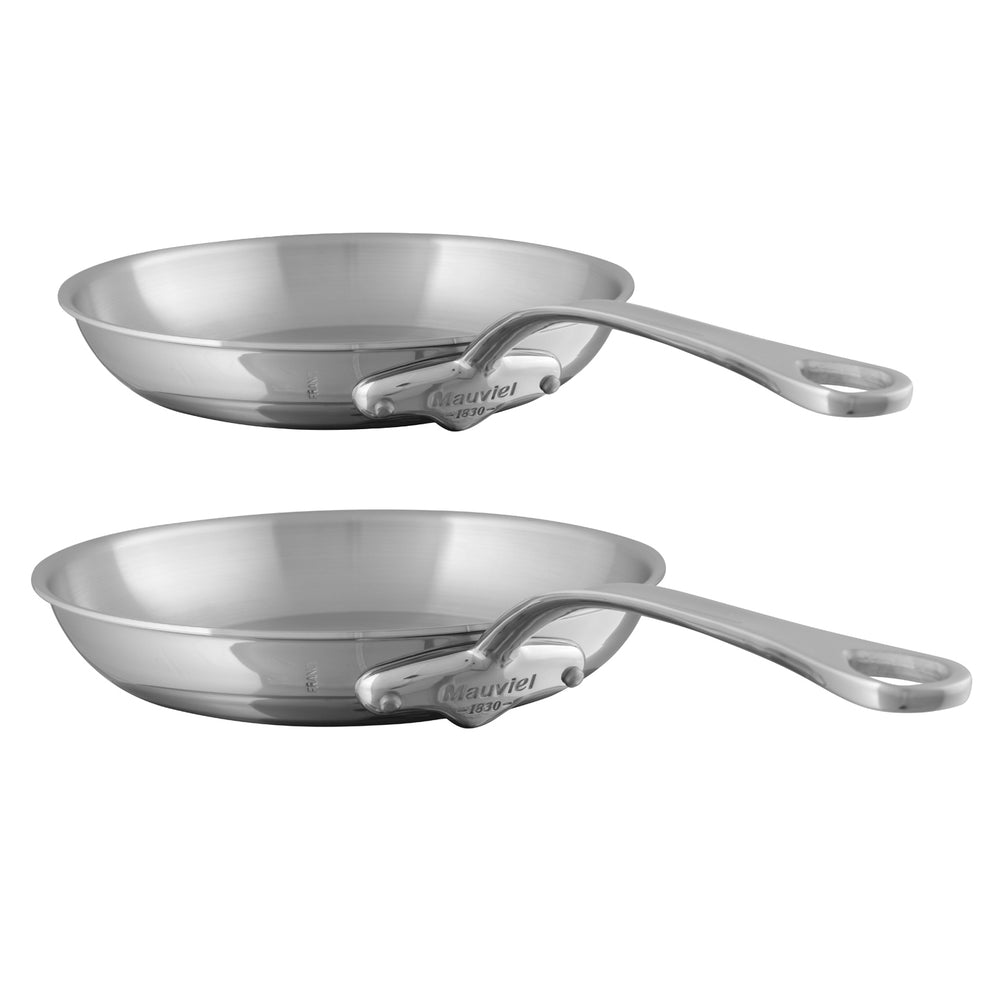
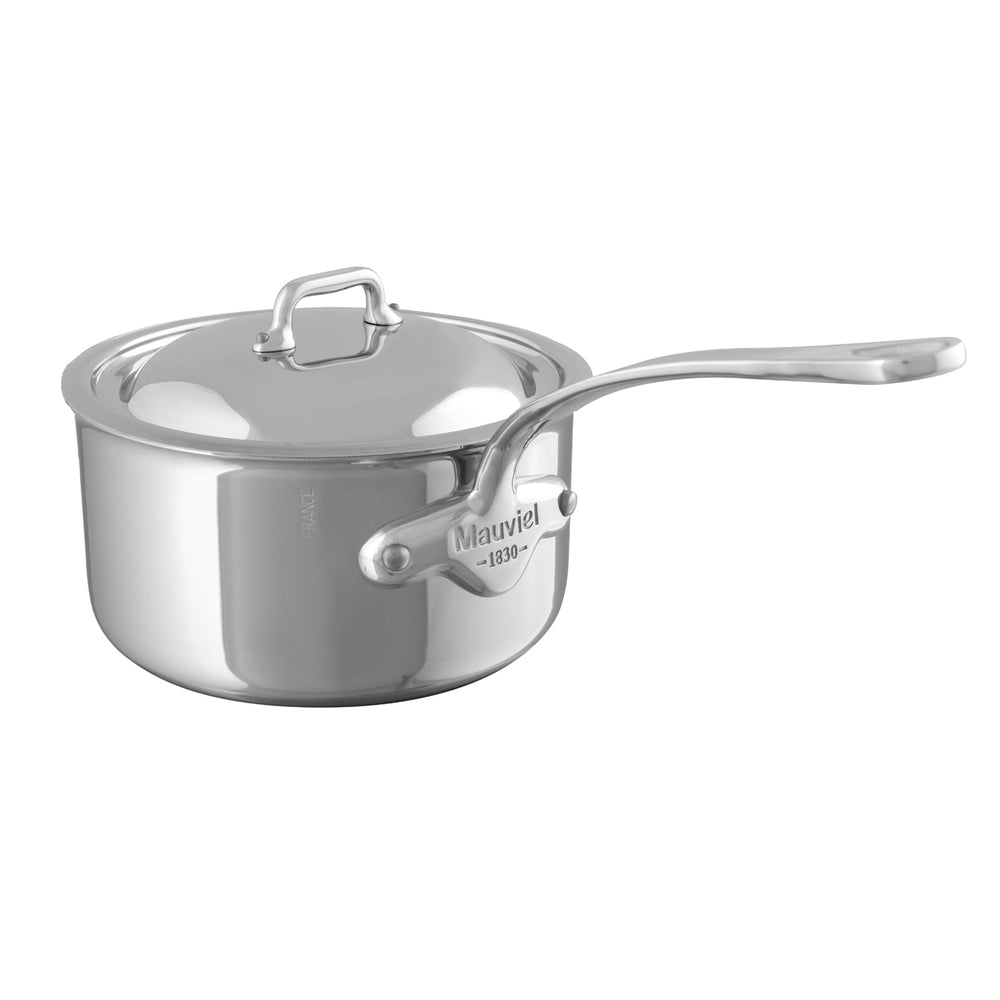
5. Finally, Adding the Handles
Handles are added to the pan at the very end of the process. First, holes are punched into the sides of the pan, and the pan is matched with its particular handle. Handles vary in size – larger pans will have longer handles, for optimal balance. They also vary in material, from functional stainless steel that stays cool when you cook on the hob, to more traditional cast iron or bronze (more of an aesthetic choice).

Left: Mauviel pans waiting for handles, with quality control report. Right: Handle prototypes for different pans.
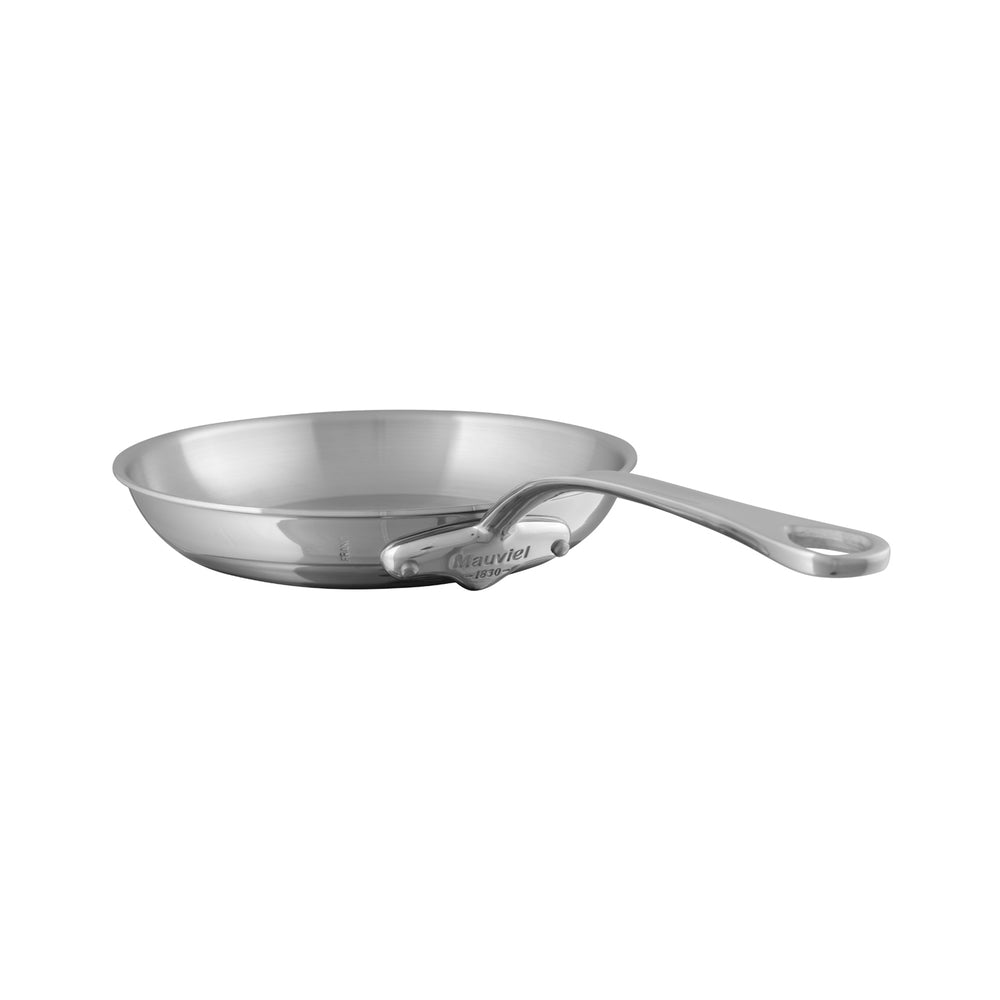
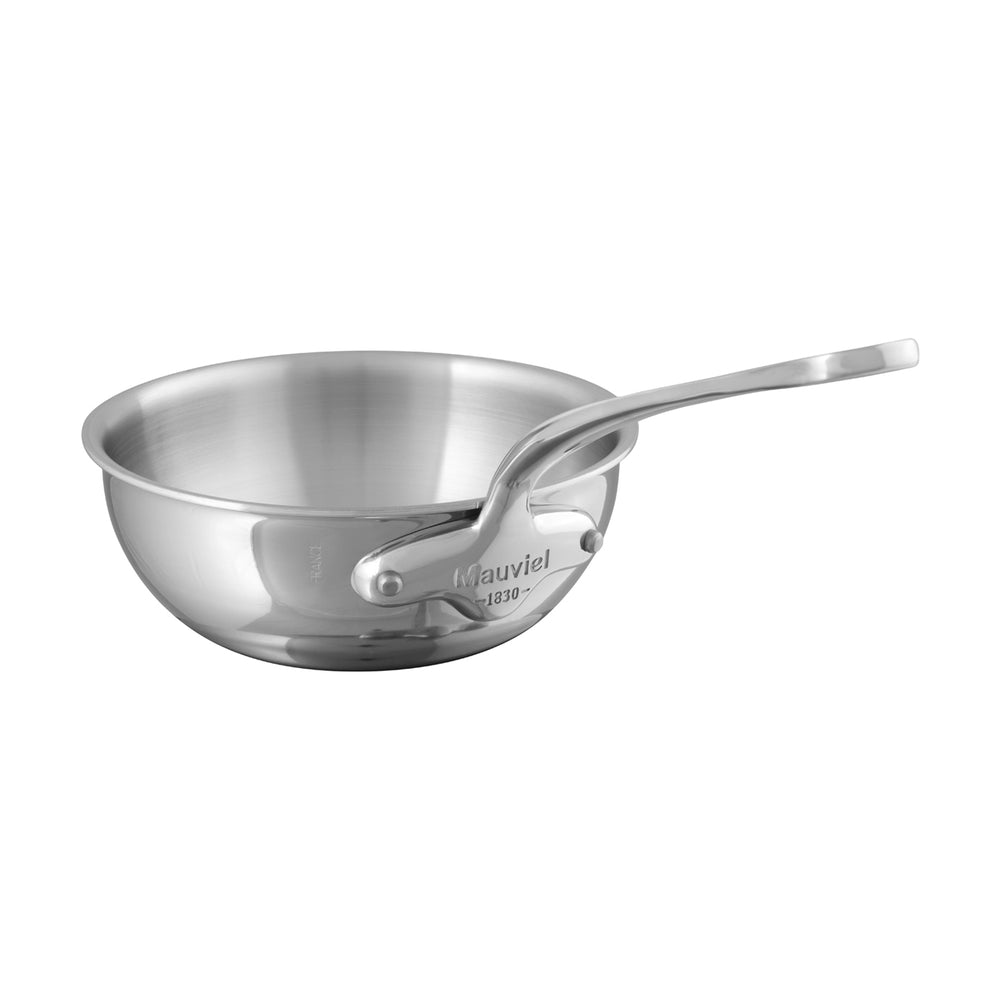
A remarkable feature of Mauviel pans is how comfortable their handles are, perfect for shaking the pan when sauteing vegetables, or flipping pancakes. For long handles, there’s a steep curve near the base of the pan, which becomes straighter towards the end, at a natural angle for gripping. A small recess lets your thumb nest within the handle comfortably.
All Mauviel handles are attached to the base of the pan with rivets, made from durable and hard-wearing stainless steel. They are inserted into the holes and fused onto the pan, where they will stay for a lifetime of heavy use. As soon as that’s done, the pan is packed and ready for shipment. If you look at the label on the box of a Mauviel pan, you’ll see the name of the last person who touched the pan before it was wrapped up and ready to be opened.

Left: The Mauviel seal of approval, stamped onto every pan. Right: A Mauviel shipment headed towards Borough Kitchen.
And voilà. That’s how a Mauviel M’Cook or Mauviel M’150S pan is made. Pans from other ranges, such as M’Tradition or M’Elite, go through a different process. The former because it is made exactly as it was centuries ago, and is lined with tin (to read about tinned copper, and watch how it’s done, see our article on it here). The latter involves an extra step of hammering the metal. (To read about hammered pans, see our article on it here). But no matter the range, Mauviel only puts its stamp on a product they are confident meets its time-honoured standards.