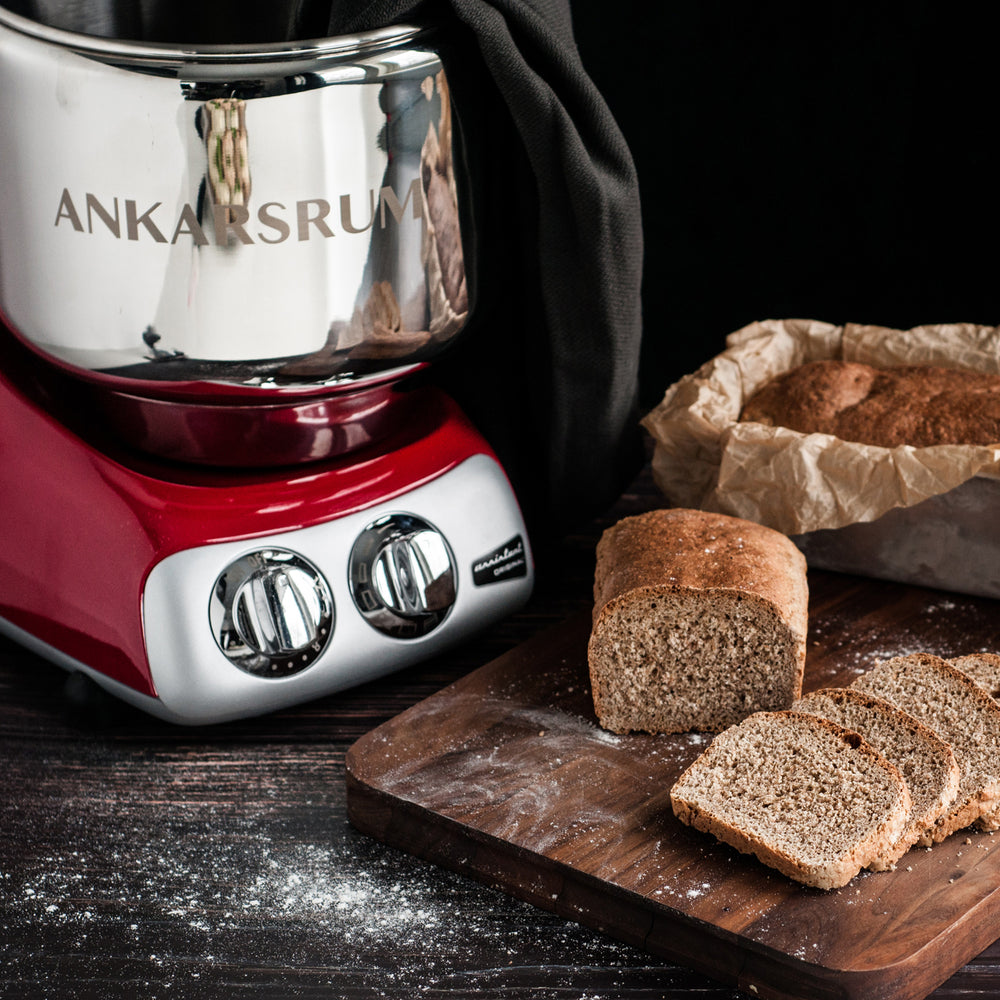
Japanese Milk Bread
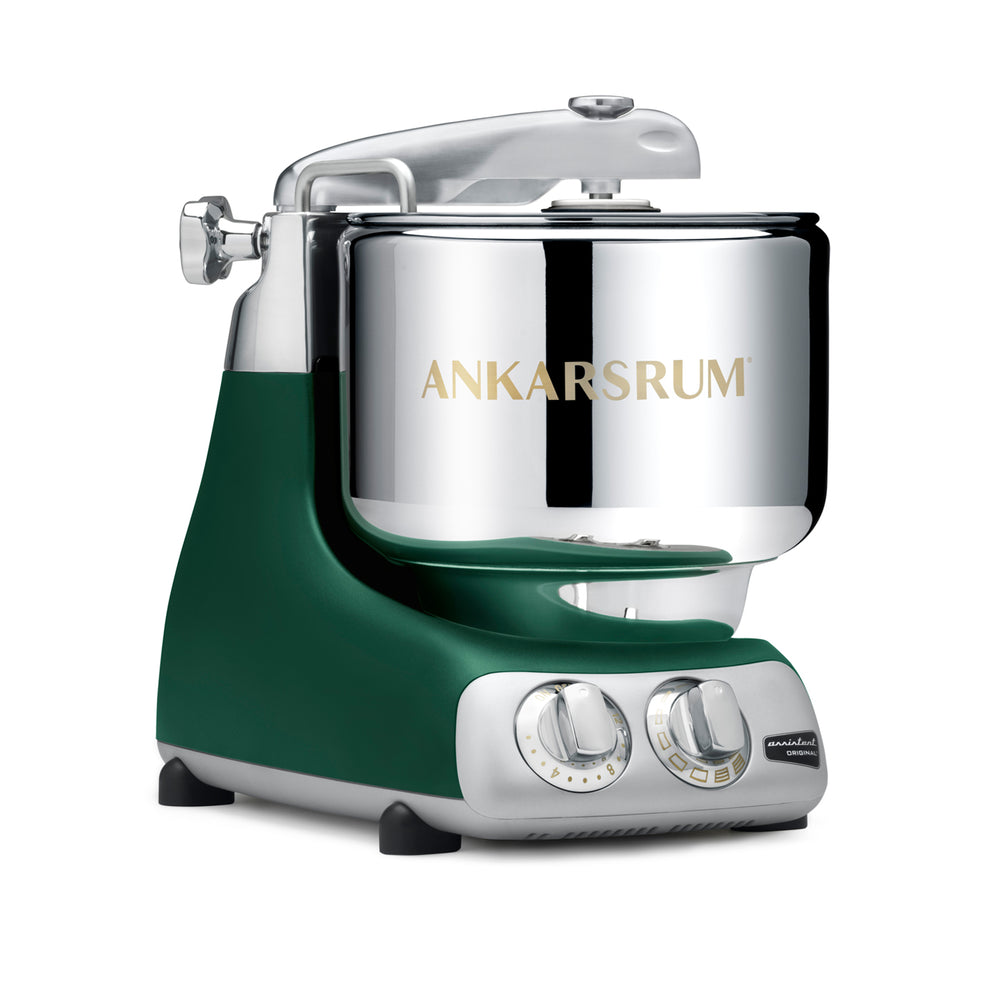
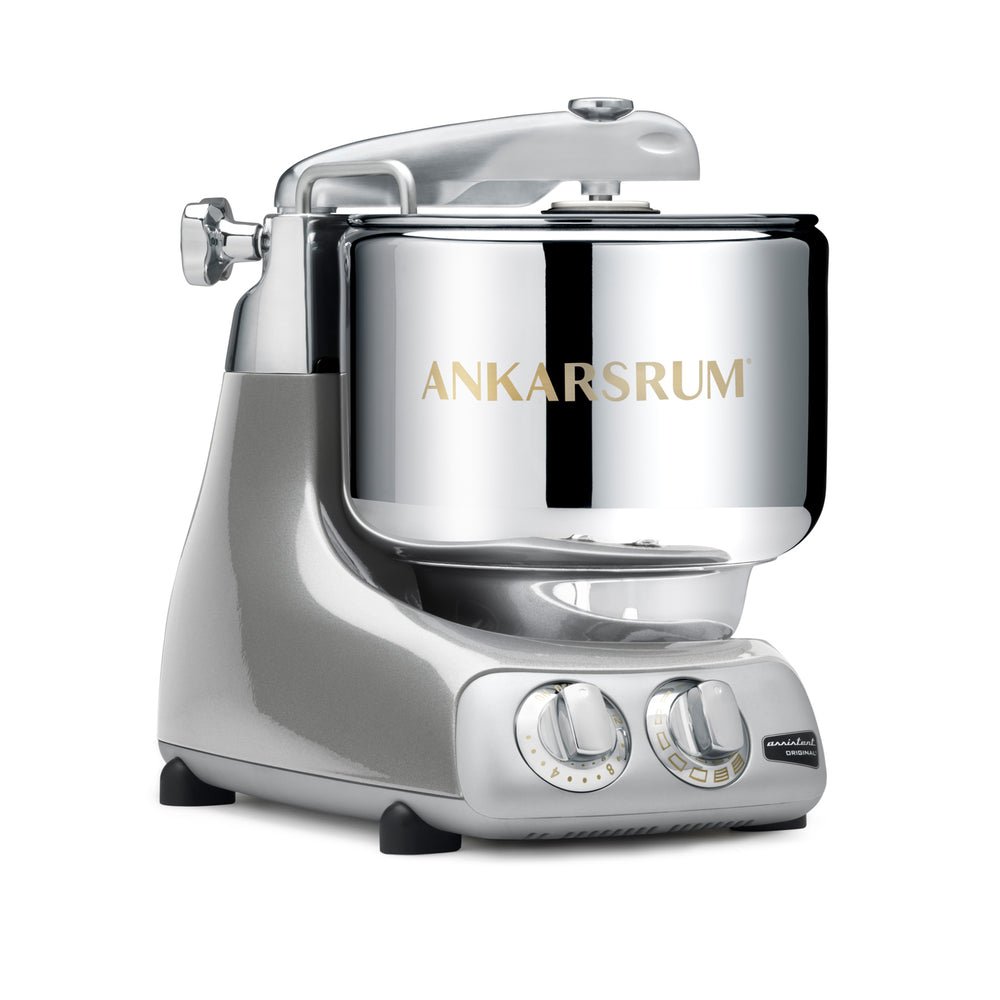
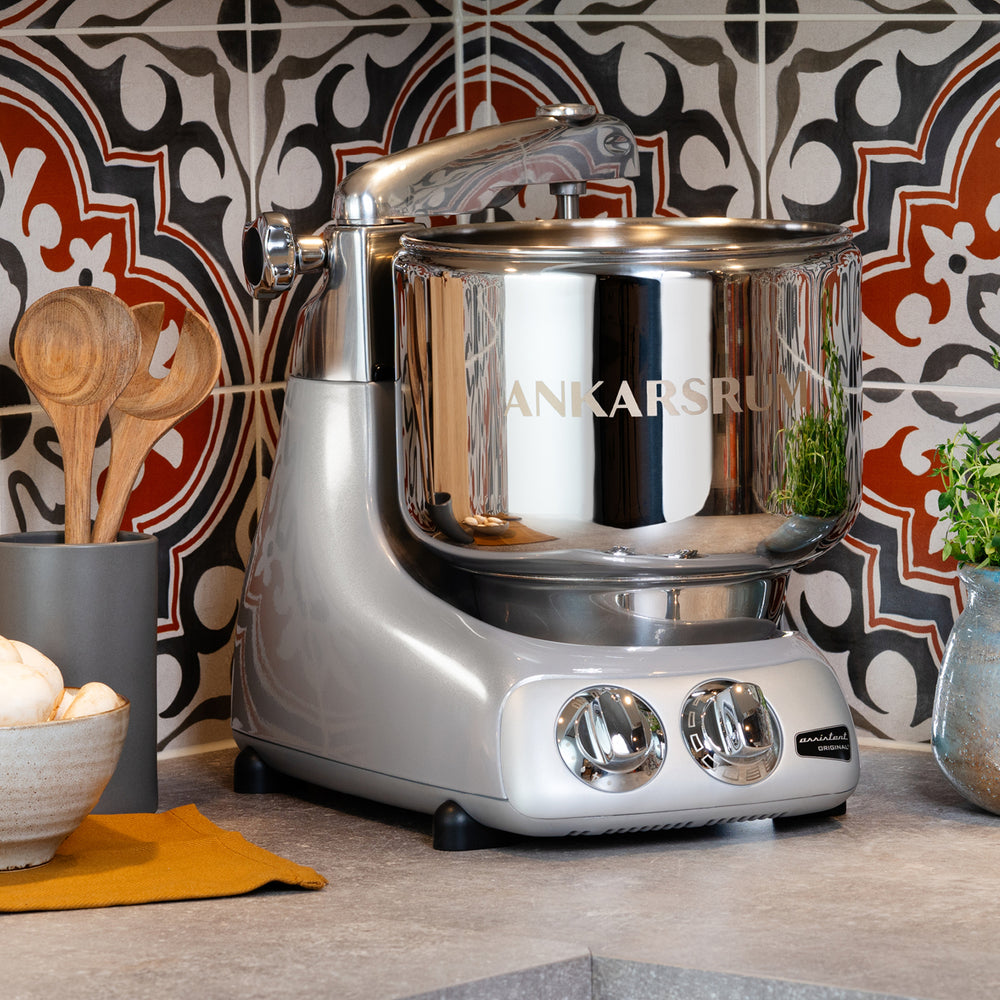
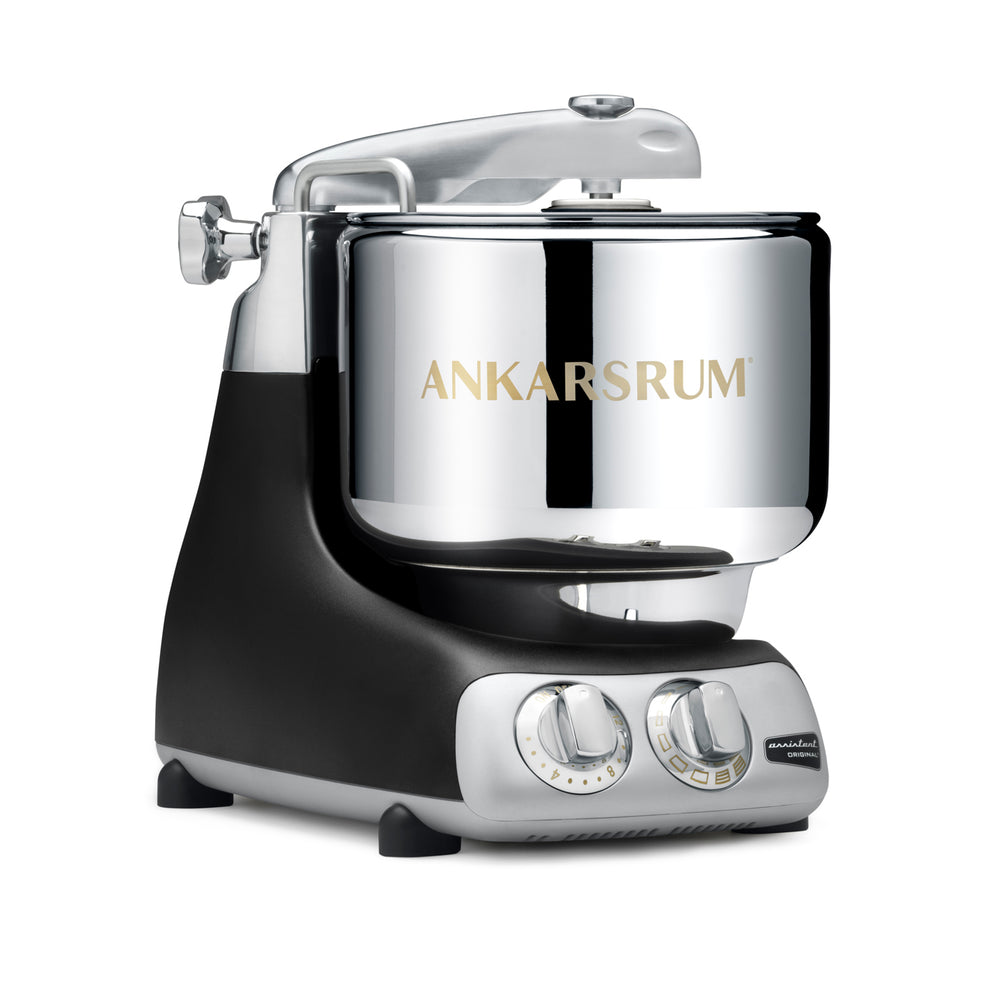
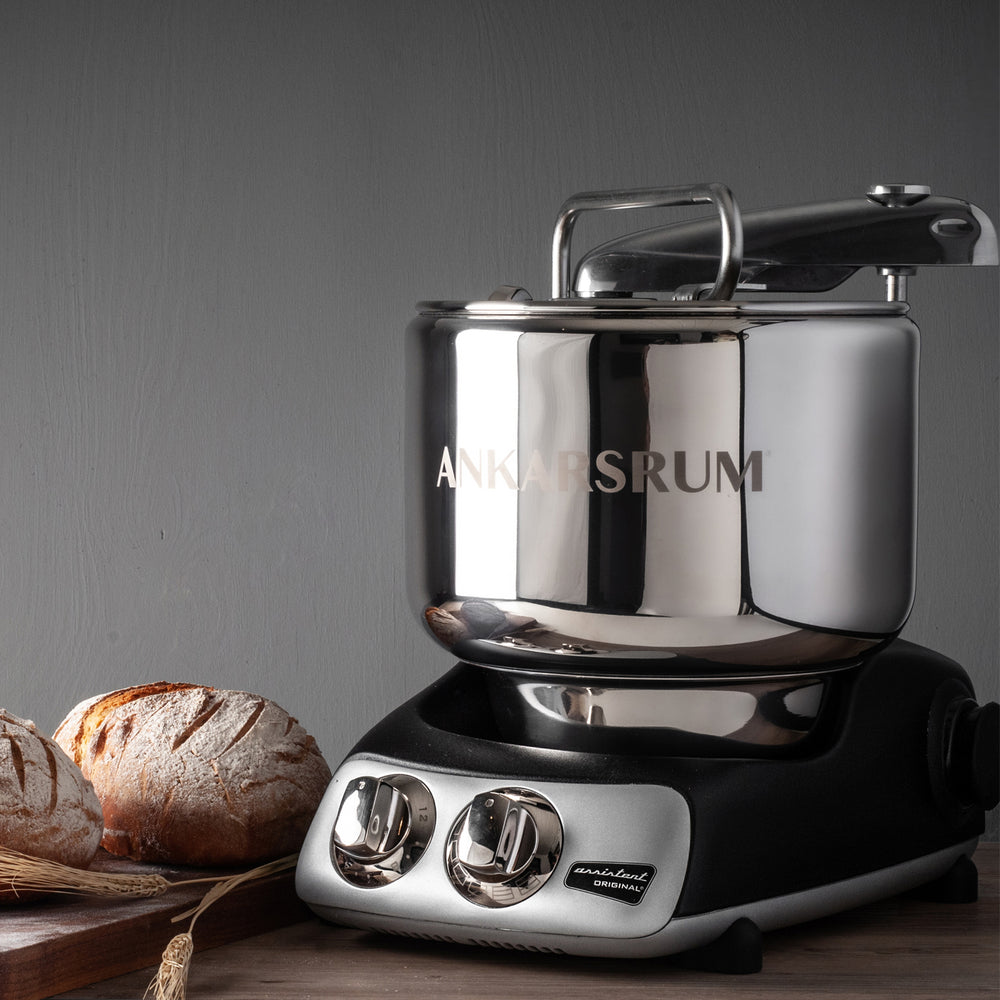
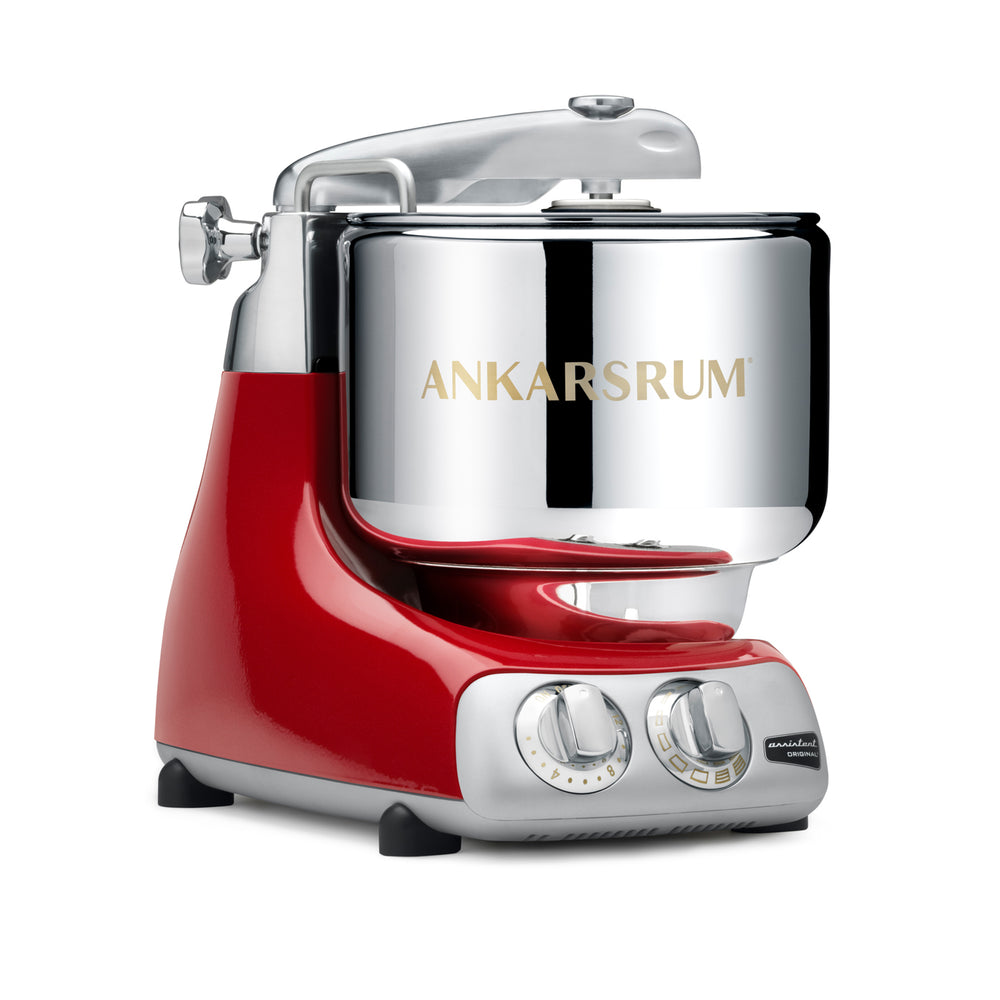
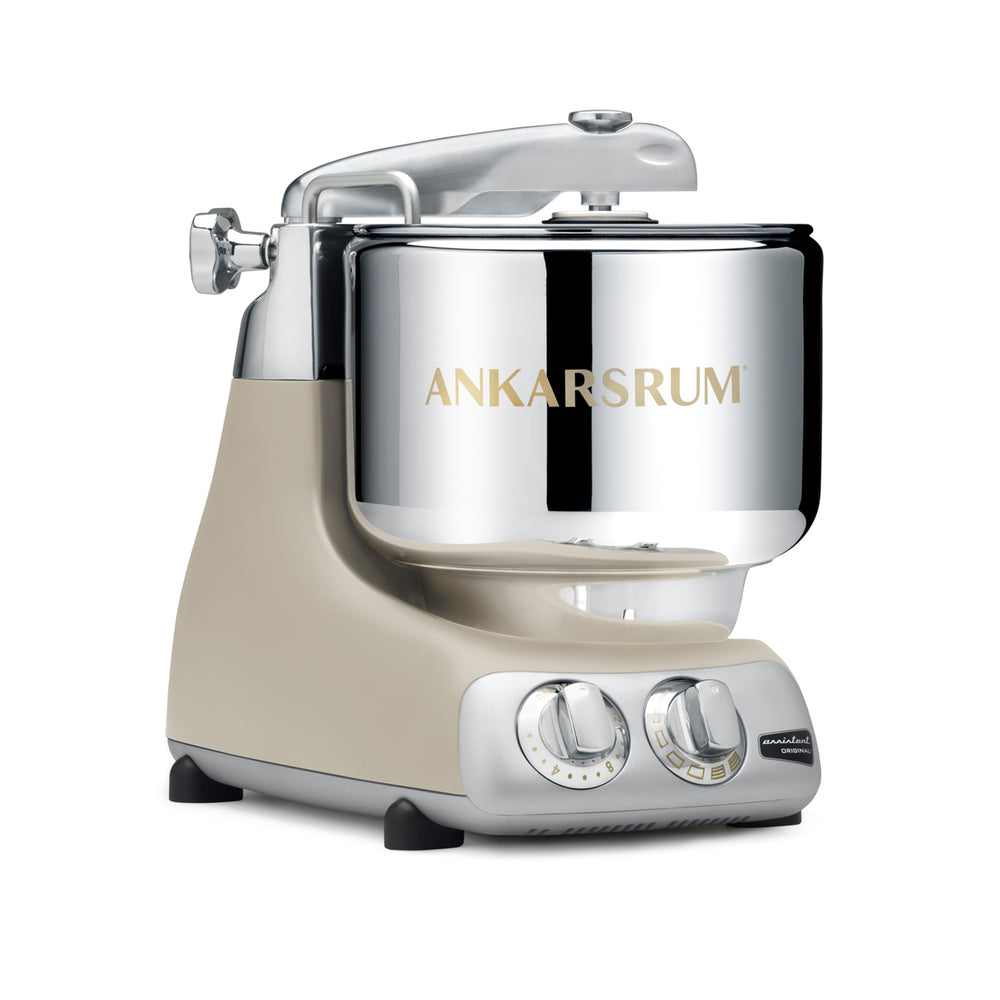
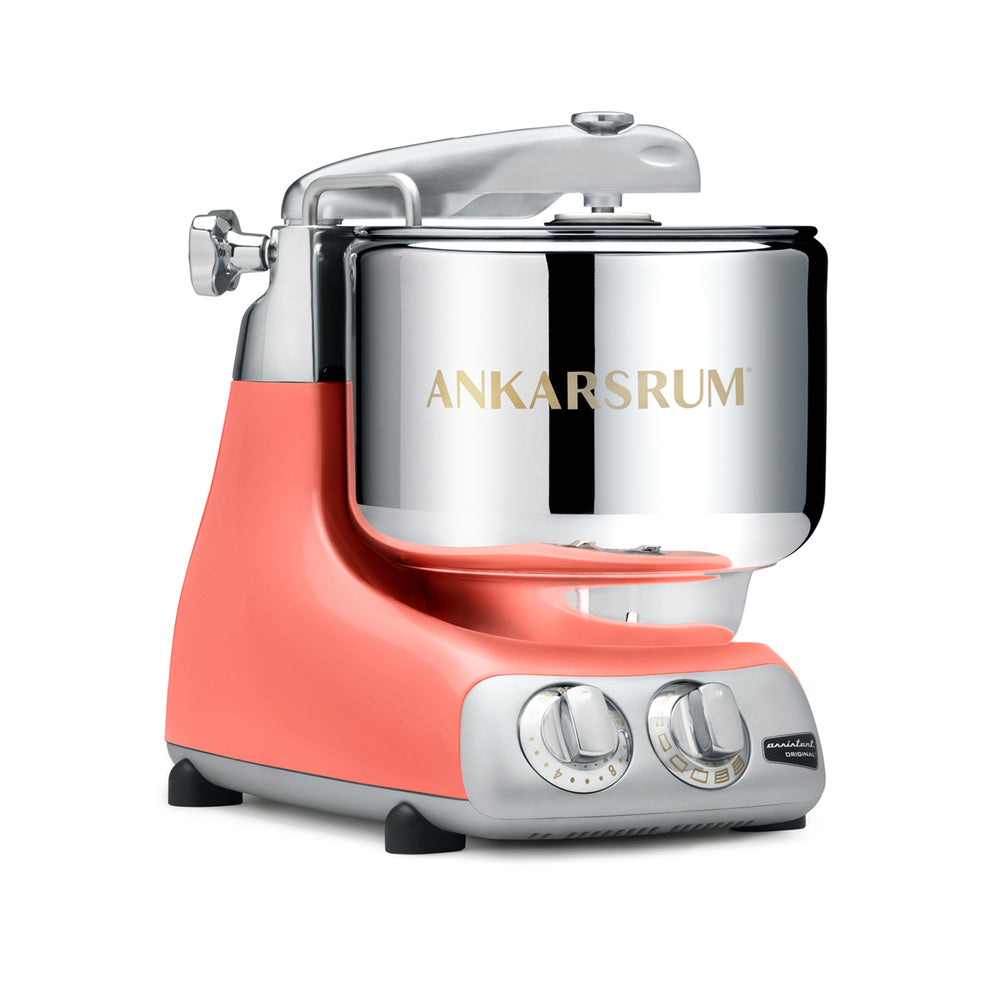
Enriched bread, which includes ingredients like butter or milk, is notoriously difficult dough to make by hand, because of its high hydration. (Ask anyone who’s made brioche by hand and they’ll nod furiously.) That makes it particularly well suited for the Ankarsrum stand mixer, which is designed to replicate kneading dough by hand, sans mess and stress. This Japanese milk bread recipe, or Hokkaido milk bread recipe, comes to us from Ankarsrum, and is designed for the Ankarsrum mixer. It makes a loaf of bread that is softer than brioche, with a similarly rich taste that leans the slightest bit sweet. It’s not traditional Japanese milk bread, because it skips the initial tangzhong process of making a flour-and-water roux, but it’s delightfully simple to make and even simpler to eat. This soft sandwich loaf is perfect for summery BLTs, egg-and-cress, and any toastie you can dream up.
Makes 1 loaf
Ingredients
250ml lukewarm milk (at 37°C)2 tsp sugar
2 tsp dry yeast (7g)
390g strong white bread flour
45g sugar
1 tsp salt
1 egg + 1 egg yolk, plus another egg for egg wash
75g soft room temperature butter, plus more to grease the pan
Neutral oil for proofing
Method
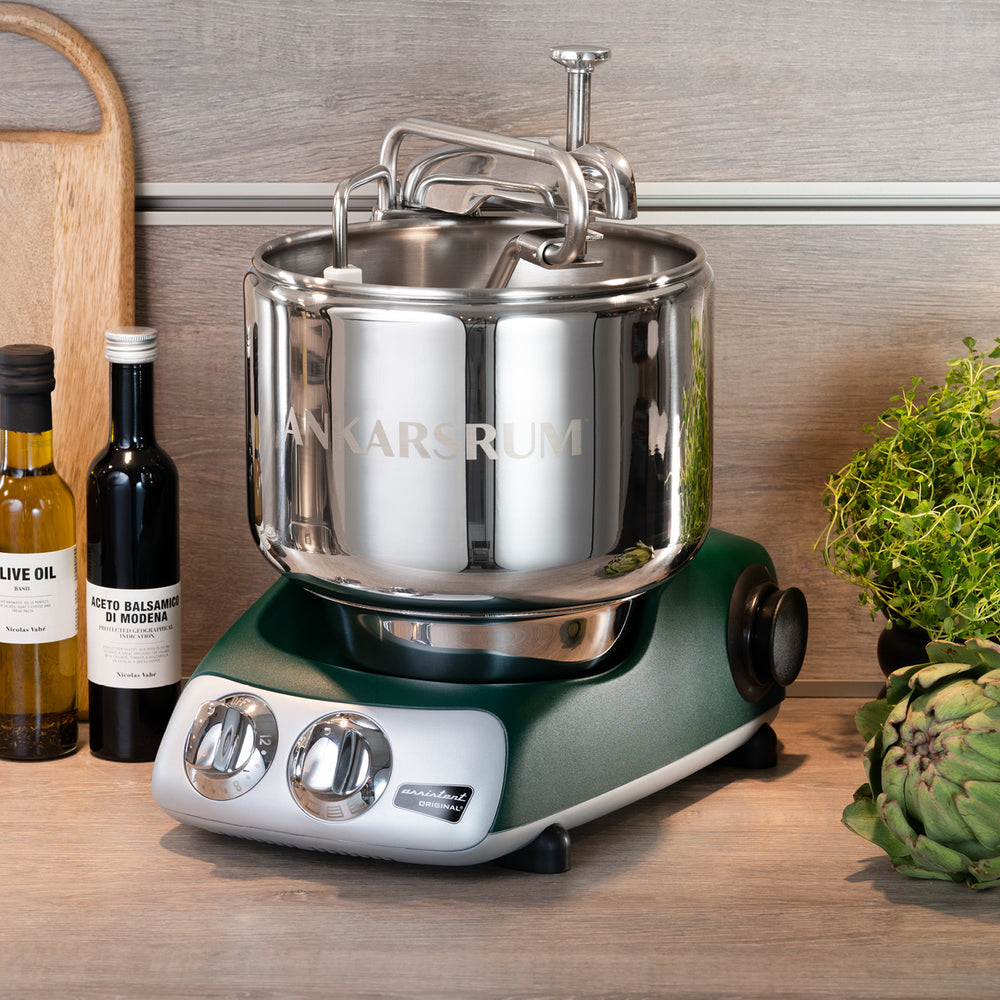
- Mix lukewarm milk with 1 tsp sugar and all the dry yeast in a small bowl. Leave for 10 minutes for the yeast to bloom. Meanwhile, assemble the Ankarsrum stand mixer with the stainless steel bowl, roller attachment, and dough knife
- Add the yeast mixture into the stainless steel bowl and add all the remaining ingredients, except for the egg wash and neutral oil. Let it run on low speed for about 4 minutes. Increase to medium speed and knead the dough for another 4 minutes, then increase it to high speed and mix for another 4 minutes, until you have a shiny and smooth dough. This may take longer in some cases, but keep going until your dough is shiny, smooth, and elastic enough to pass the windowpane test (see ‘BK Tips’ below)
- Coat a large bowl with 1 to 2 tablespoons of neutral oil, and put the dough into it to proof. Wrap with clingfilm or cover with a paper towel, and leave to proof for 60 minutes

- Butter a large loaf tin (2 ib). Prepare your work surface by sprinkling it with flour. In the bowl, press the inflated dough down with a tight fist, then transfer it to your work surface. Use a dough scraper to divide the dough into three equal pieces. Roll one piece of the dough, covering the others with a tea towel as they rest, into a rectangle measuring about 15x30 cm. Take the long edge of one side and fold it over to the middle. Take the other long edge and fold it over to the middle. The edges should be next to each other in the middle, but not overlapping. Take one of the short sides and roll the dough over itself until the other edge. Place the rolled piece, seam side down, into a greased loaf tin, so the circular folds are facing the long sides of the tin. Repeat with the other two pieces, placing them side-by-side in the loaf tin, like three rolled sleeping bags next to one another. It’s okay if there’s space between each piece, as the dough will expand during its second proof
- Preheat the oven to 200°C/180°C fan. Place a tea towel over the loaf tin and let the bread rise until it’s doubled in size, about 45 to 60 minutes
- Prepare an egg wash by beating an egg. Brush the egg wash over the top of the bread, so it looks shiny when it comes out of the oven. Bake the loaf for 18-20 minutes. Let the bread cool on a wire rack before digging in
BK Tips
- For the windowpane test, take a small amount of dough in your hands and stretch it into a small rectangle. If the dough stays in one piece, and can be stretched thin enough until it’s nearly translucent, it’s done mixing and ready to proof
- Resist the urge to add too much flour to your work surface or hands if the dough is sticky. If needed, dip your hands in water or rub them with a bit of oil, which will help the dough stick less

- If you’re short on time, stick the dough in the refrigerator for the first rise. Let it proof for 24 hours before shaping
- You can use milk instead of an egg for the egg wash, if you prefer