Borough Kitchen Cinnamon Rolls
Ingredients: Dough
200g whole milk, plus more for milk wash and thinning the cream cheese icing8g dried yeast
2 large eggs, lightly beaten
200g unsalted butter, softened
50g caster sugar
10g salt
600g strong white bread flour
Ingredients: Cinnamon Filling
150g unsalted butter, softened250g soft light brown sugar
2-3 tsp ground cinnamon or five-spice
Ingredients: Cream Cheese Icing
230g soft cheese, like Philadelphia230g icing sugar
1 tsp vanilla extract
Pinch of salt
1 tsp orange zest
Method
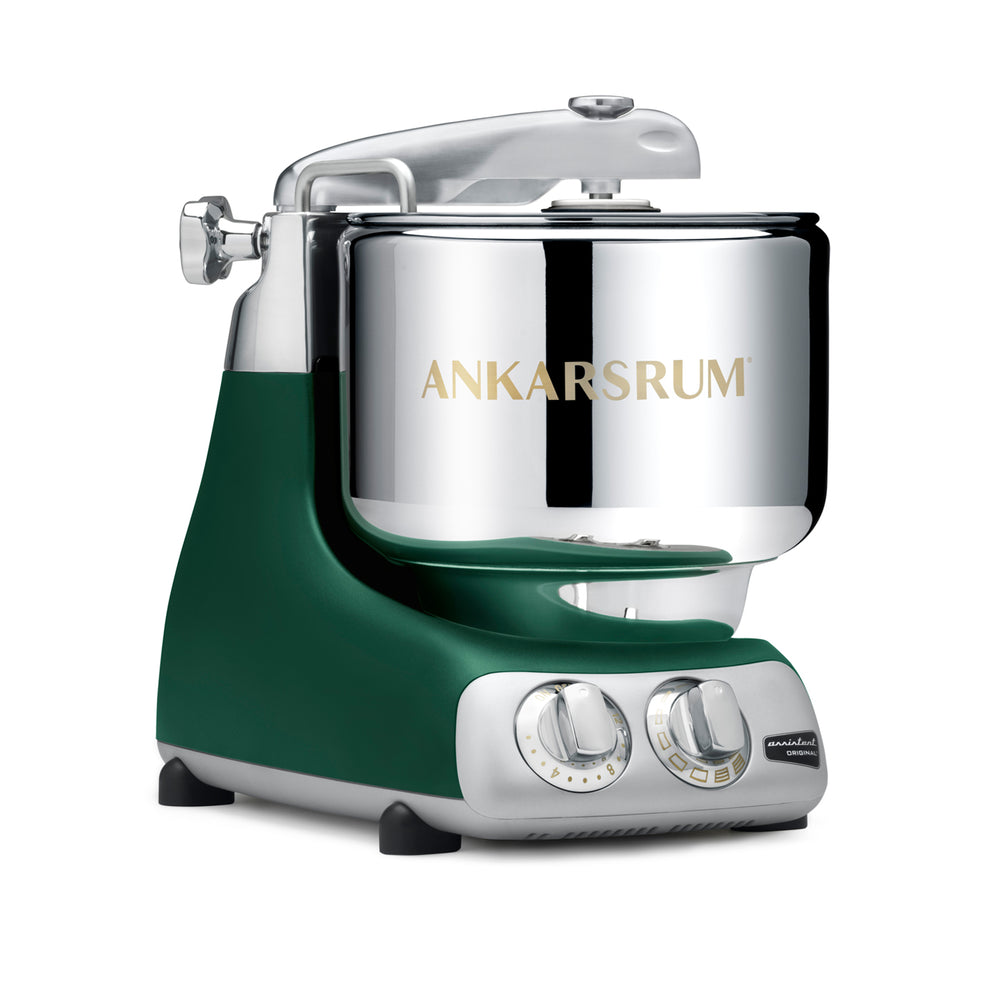
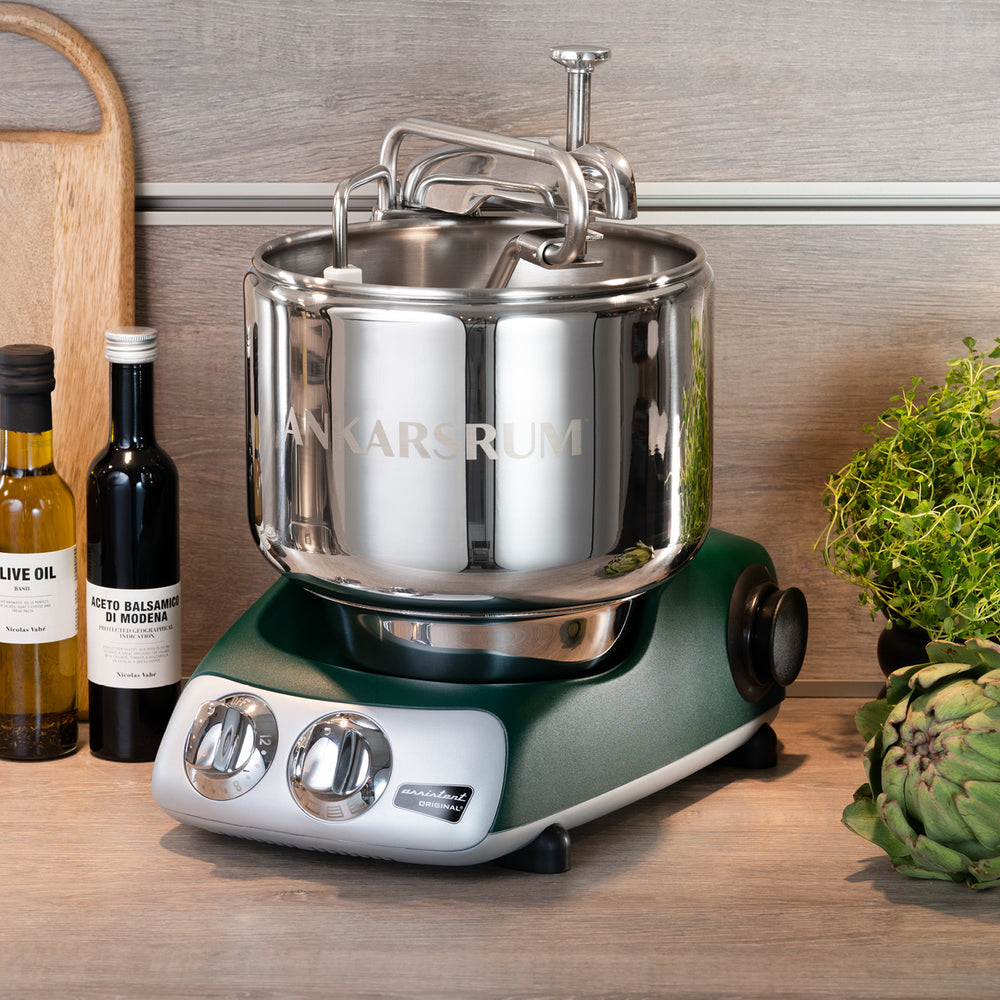
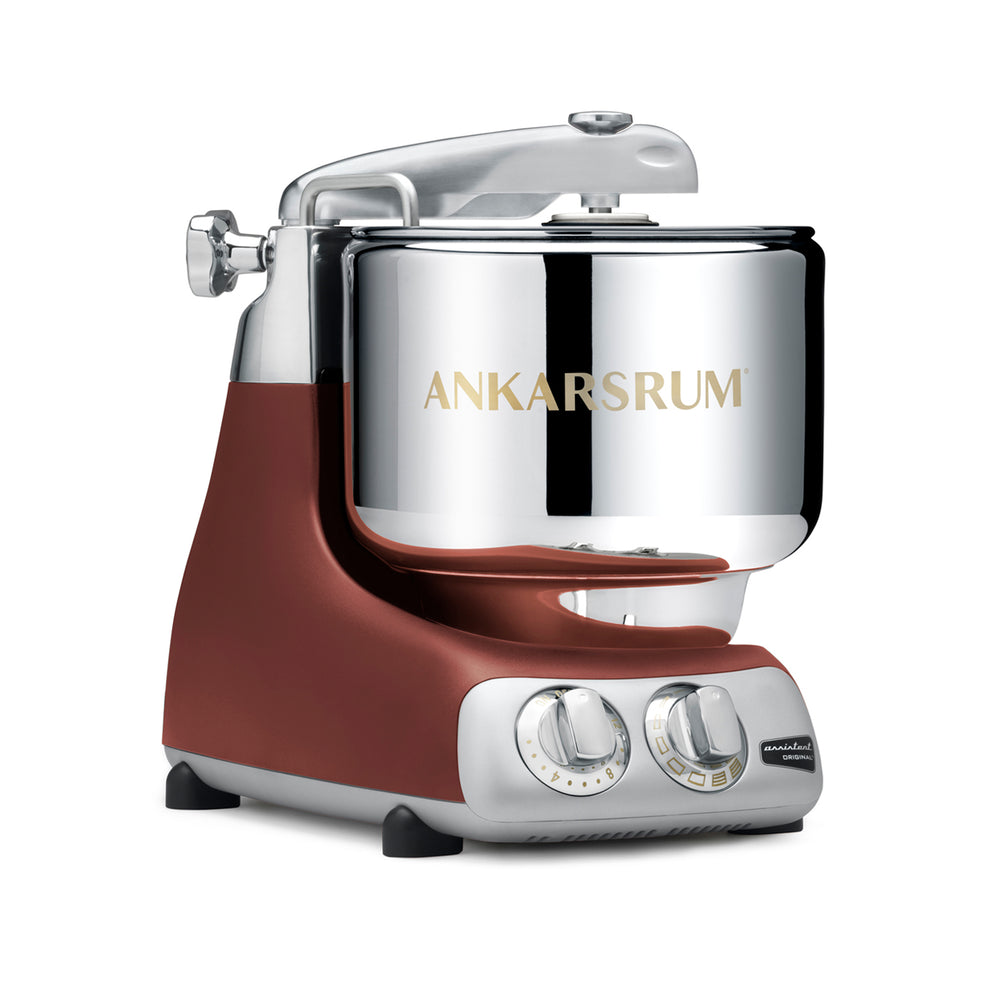
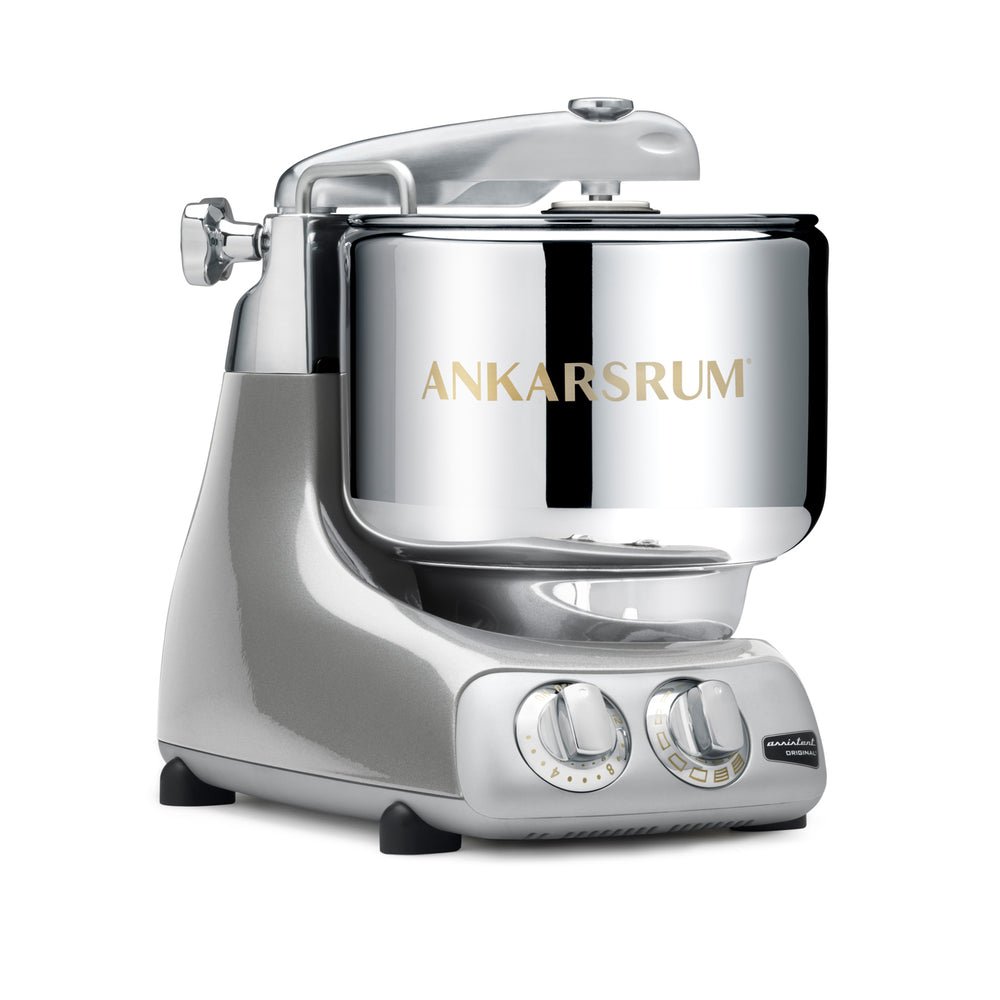
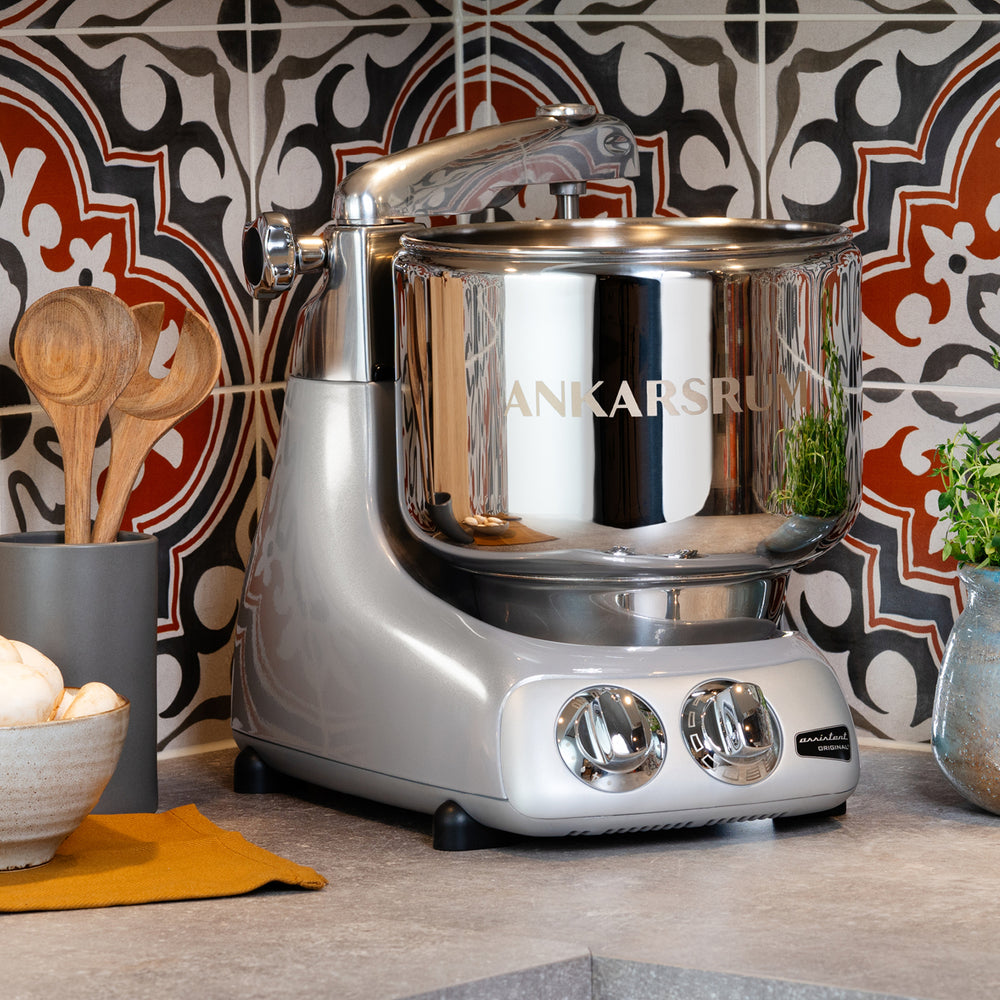
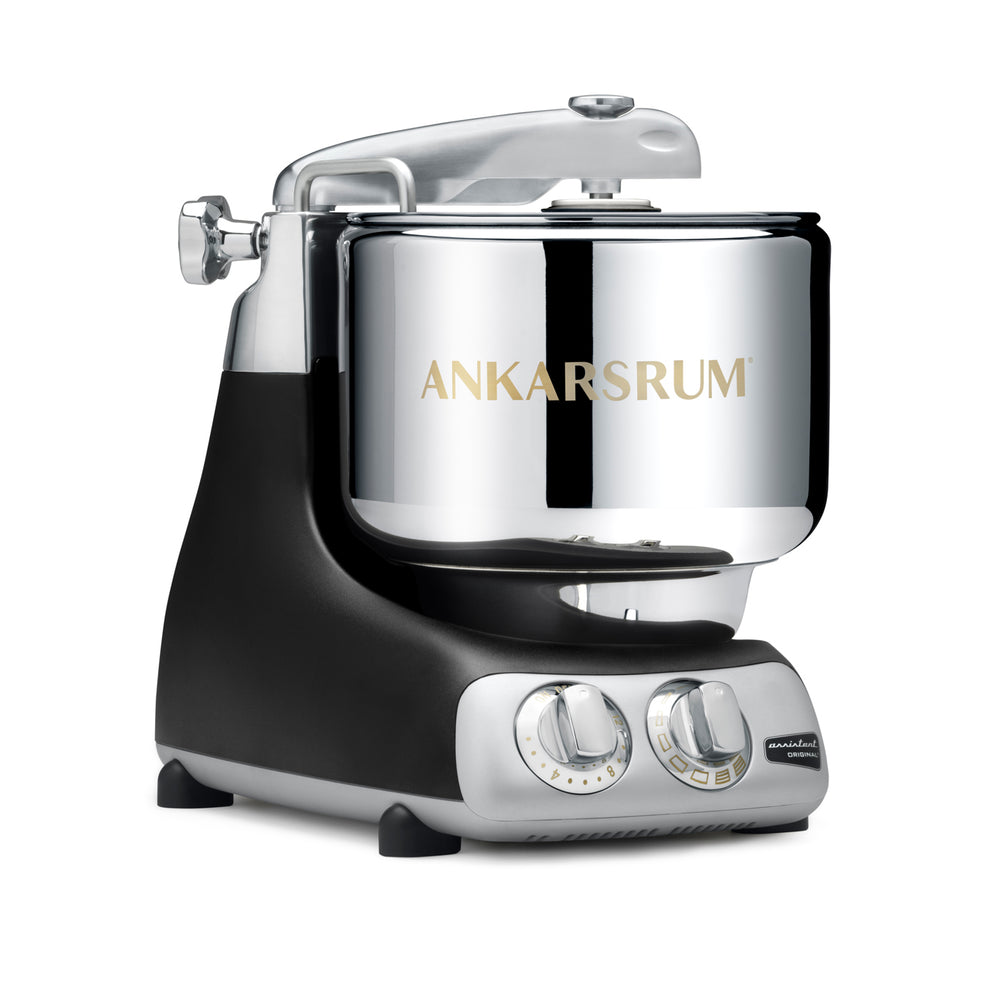
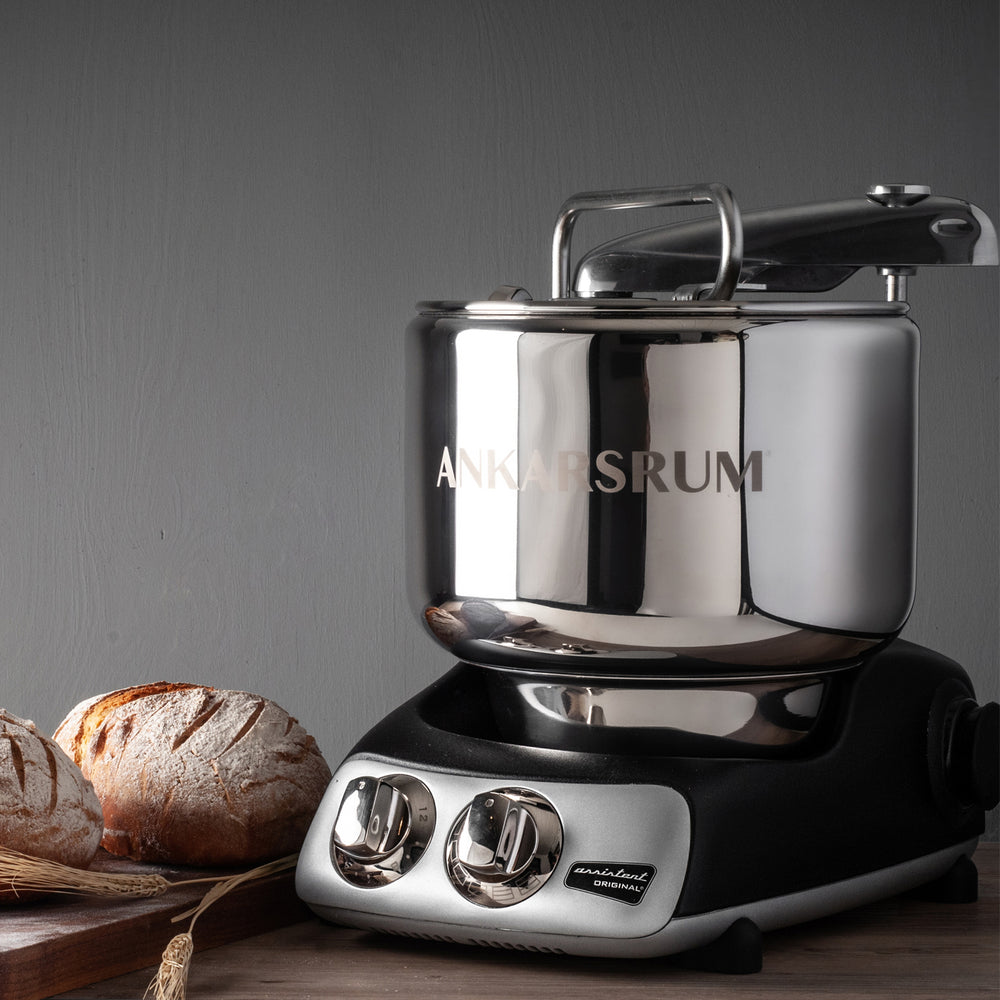
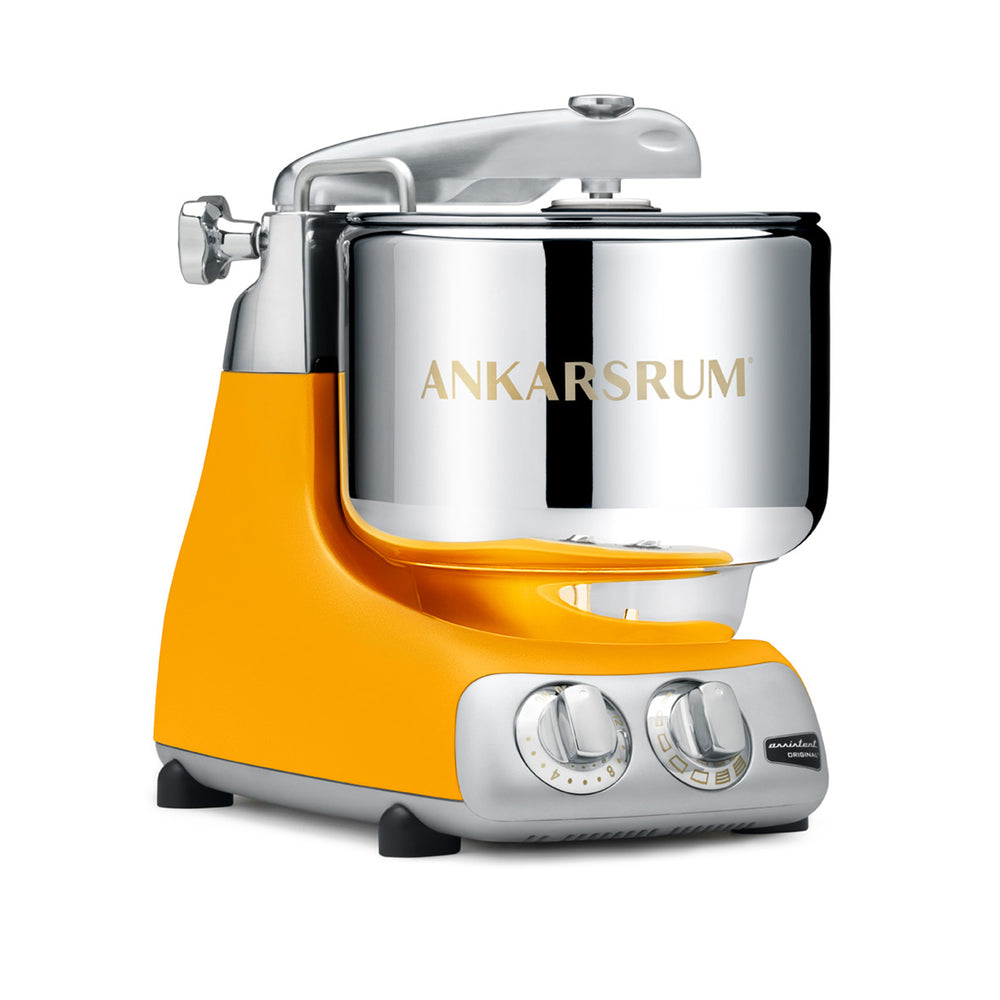
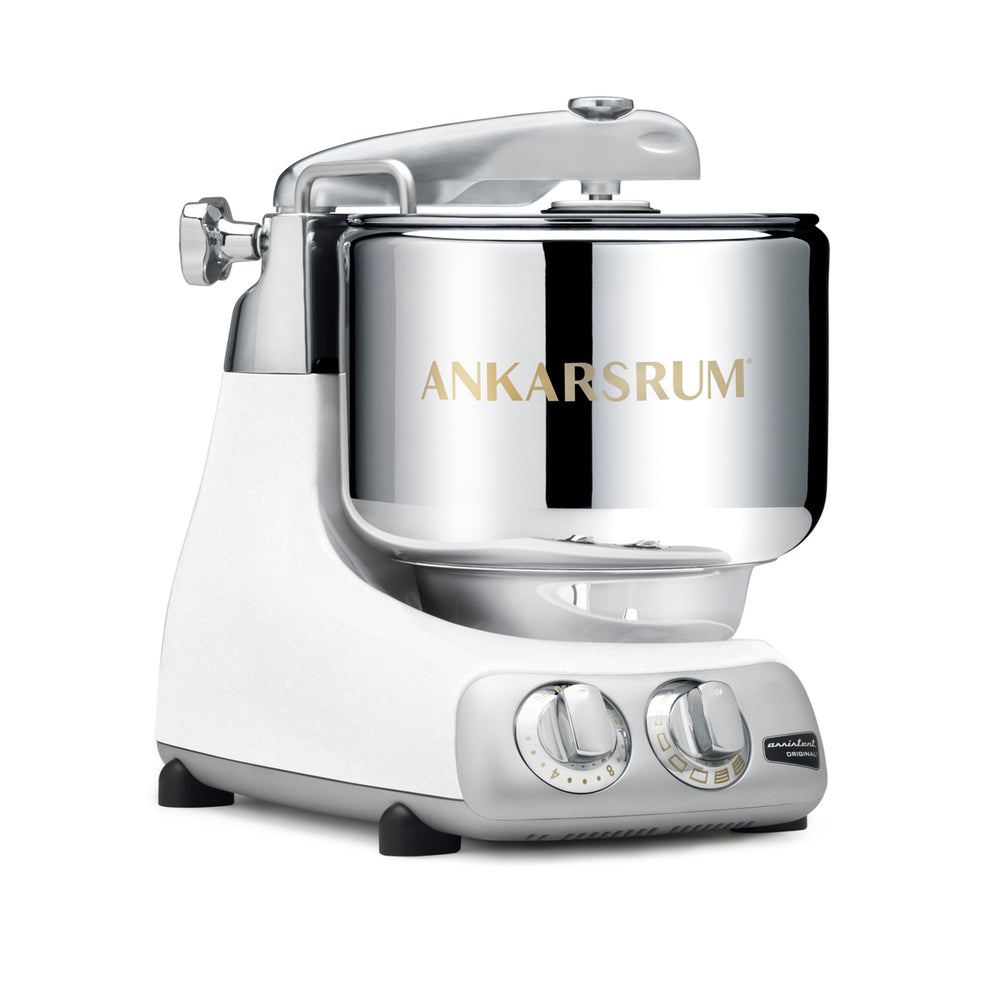
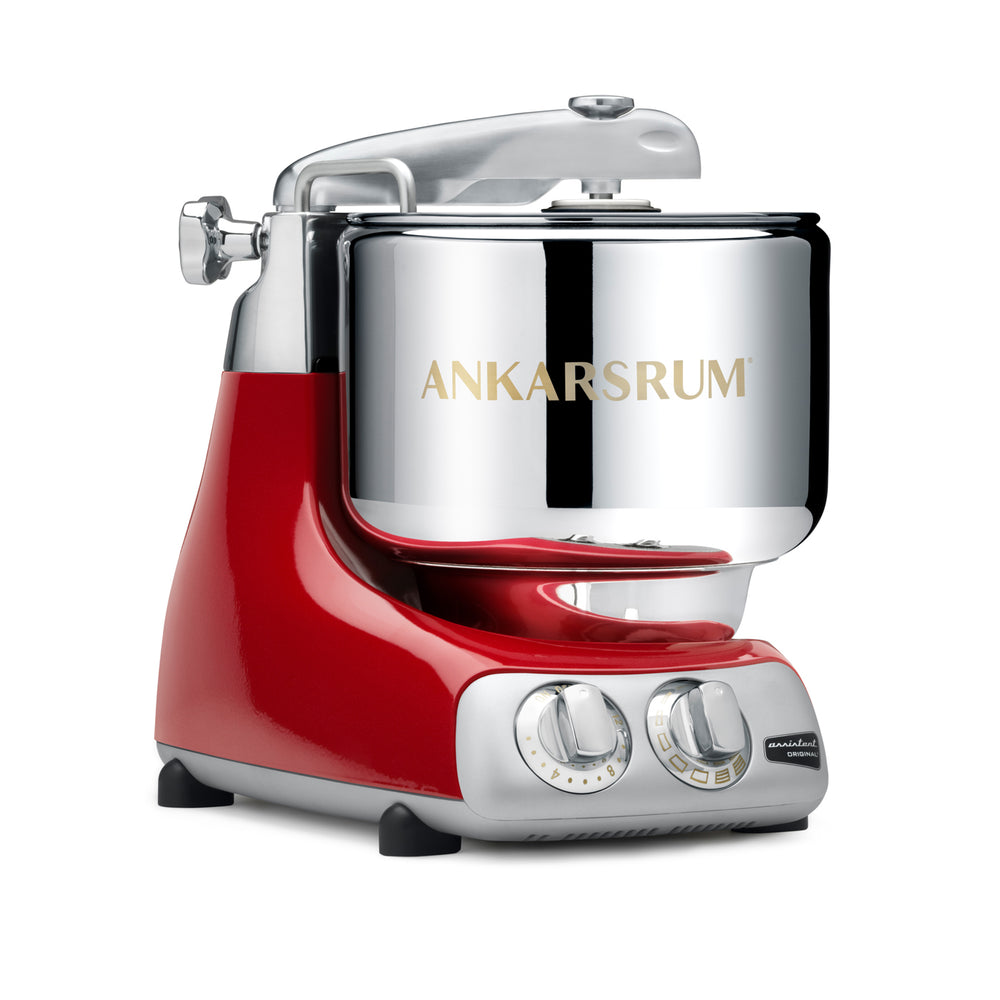
- Set the Ankarsrum up with the stainless steel bowl, dough roller and dough knife. Do not lock the roller into place just yet; let it stay towards the side of the bowl.
- Place the milk and yeast into the bowl and turn on low speed for up to 5 mins. Allow the yeast and milk to combine. Gently move the roller towards the centre of the bowl and back to the side; this will help rehydrate the yeast. Once all the yeast has been mixed and is dissolved, add the beaten eggs, softened butter, sugar, and salt. Continue mixing these ingredients on the same low speed, moving the roller if needed to ensure the ingredients are combined. The butter will remain lumpy at this stage, do not fret.
- Reposition the roller approximately 2cm away from the edge of the bowl and set it so it stays there. With the mixer still on low speed, gradually add the flour in thirds, waiting a couple of minutes before each edition. As the ingredients combine, a doughnut shape should form in the bowl. The texture of the dough should be soft but not overly sticky, and should begin to come away from the sides of the bowl with ease.
- Once the mixture looks as described above – soft but not overly sticky, easily releasing from the sides of the bowl – turn the machine to a medium-high speed and set the timer for 12 minutes. In the meantime, measure ingredients for the filling and get the plastic beater bowl and cookie whisks ready.
- Once the dough has finished mixing, remove the roller and dough knife and release the stainless steel bowl. Cover the bowl with the proofing lid and place it somewhere warm, until doubled in size. This could be anywhere from 45 to 75 minutes, depending on how warm the room is. A good way to check for doneness is poke the dough with an oiled or floured finger (so it doesn't stick). If it makes a small indent and rises slowly, it's ready. If it springs back too quickly, give it more time. Do this at the 45-minute mark so you can avoid overproofing.
- Meanwhile, fit the Ankarsrum with the plastic beater bowl and cookie whisks. Mix the softened butter, light brown sugar and cinnamon together on a low to medium setting. Ensure they are mixed well; it will resemble a thick paste that is spreadable. Set aside until ready to use. Now's also a good time to prepare your baking pan: Line a 30x20cm roasting pan, 30cm-wide sauté pan, or a pie dish—using more than one dish if needed—with baking paper, leaving an overhang on the sides for pulling rolls out of the pan later.
- Once the dough has risen, pre-heat the oven to 190°C. Remove the proofed dough from the bowl and place on a well-floured surface. Using a lightly floured rolling pin, roll out the dough into a rectangular shape, approximately 1 cm thick. Add flour as needed to keep the dough from sticking.
- Using an angled pastry spatula, spread the filling evenly across the dough, ensuring you cover up to the edges. Now take the longer edge, starting from the bottom, and begin to roll the dough towards the top, creating a rolled cylinder (a Swiss roll shape). Using a knife or dough scraper, cut 10-12 equal rounds from the rolled dough. Place these cut side up onto your prepared tray or pan. Allow for a small amount of space between them, as they will increase in size during the 2nd proofing and the final baking process. Lightly cover with an oiled piece of cling film and place somewhere warm for its second proof, for up to 30 minutes. They will not double in size, but increase slightly in volume.
- After the second rise, remove the cling film and brush all the rolls thoroughly with whole milk (this is the milk wash). Place into the oven and bake for 25-30 minutes. The rolls will be golden brown, and the filling may caramelise in places. Check the bottoms of the rolls: a golden brown hue means they are fully baked through.
- Meanwhile, make the cream cheese icing in the plastic bowl of the Ankarsrum, fitted with the cookie whisk attachments. Just add all the ingredients and beat until you have icing that is slightly runny but can form droplets that set. Add whole milk, a tablespoon at a time, to thin it out if needed.
- When the cinnamon rolls are done, let them cool slightly before using an angled spatula to spread the icing over the surface of the cinnamon rolls. (You can do this while they are in the pan or once you've plated them; both work well.) Enjoy!
BK Tips
- To make a simple hot sugar glaze instead of cream cheese icing, whisk 75g caster sugar with 100ml just-boiled water from a kettle, and pour it over the buns.
- Ankarsrum mixers are much gentler than other stand mixers, so they might take more time to knead the dough. Make sure you use the built-in timer to 'set and forget' it. The more you use the machine, the more of an idea you'll get on how high to set the power or how long it takes for dough to come together.
- To be certain your butter has softened, press it and make sure it leaves an indent.

