A Guide to Using Your Marcato Pasta Extruder Maker
You may not know the term 'extruded pasta', but if you like pasta, you’ve definitely tasted it. Bucatini, macaroni and fusilli are all examples of extruded pasta. These intricate shapes, which can be hollow (bucatini, penne) or coiled (fusilli, rotini) are distinctive for their ability to capture sauce, especially rich sauces like ragù or pesto, as well as small pieces of vegetables, meat or fish you might add to a pasta dish.
Extruded pasta provides remarkable textural complexity, too. Take bucatini, for example; while it may seem like a chubbier spaghetti, the space in the middle soaks up sauce as well as gets coated in it. Instead of chewing on just the pasta, you’re chewing on pasta infused with sauce through its centre.
Extruded pasta is made by passing drier-than-normal pasta dough through a mechanism that kneads it a little more, then pushes it through a die that forms it into a particular shape. It seems like something only electric pasta extruder machines in factories or restaurants can do—and it usually is. But there’s one manual pasta maker for extruded shapes that stands out: the Marcato Regina Pasta Extruder Maker.
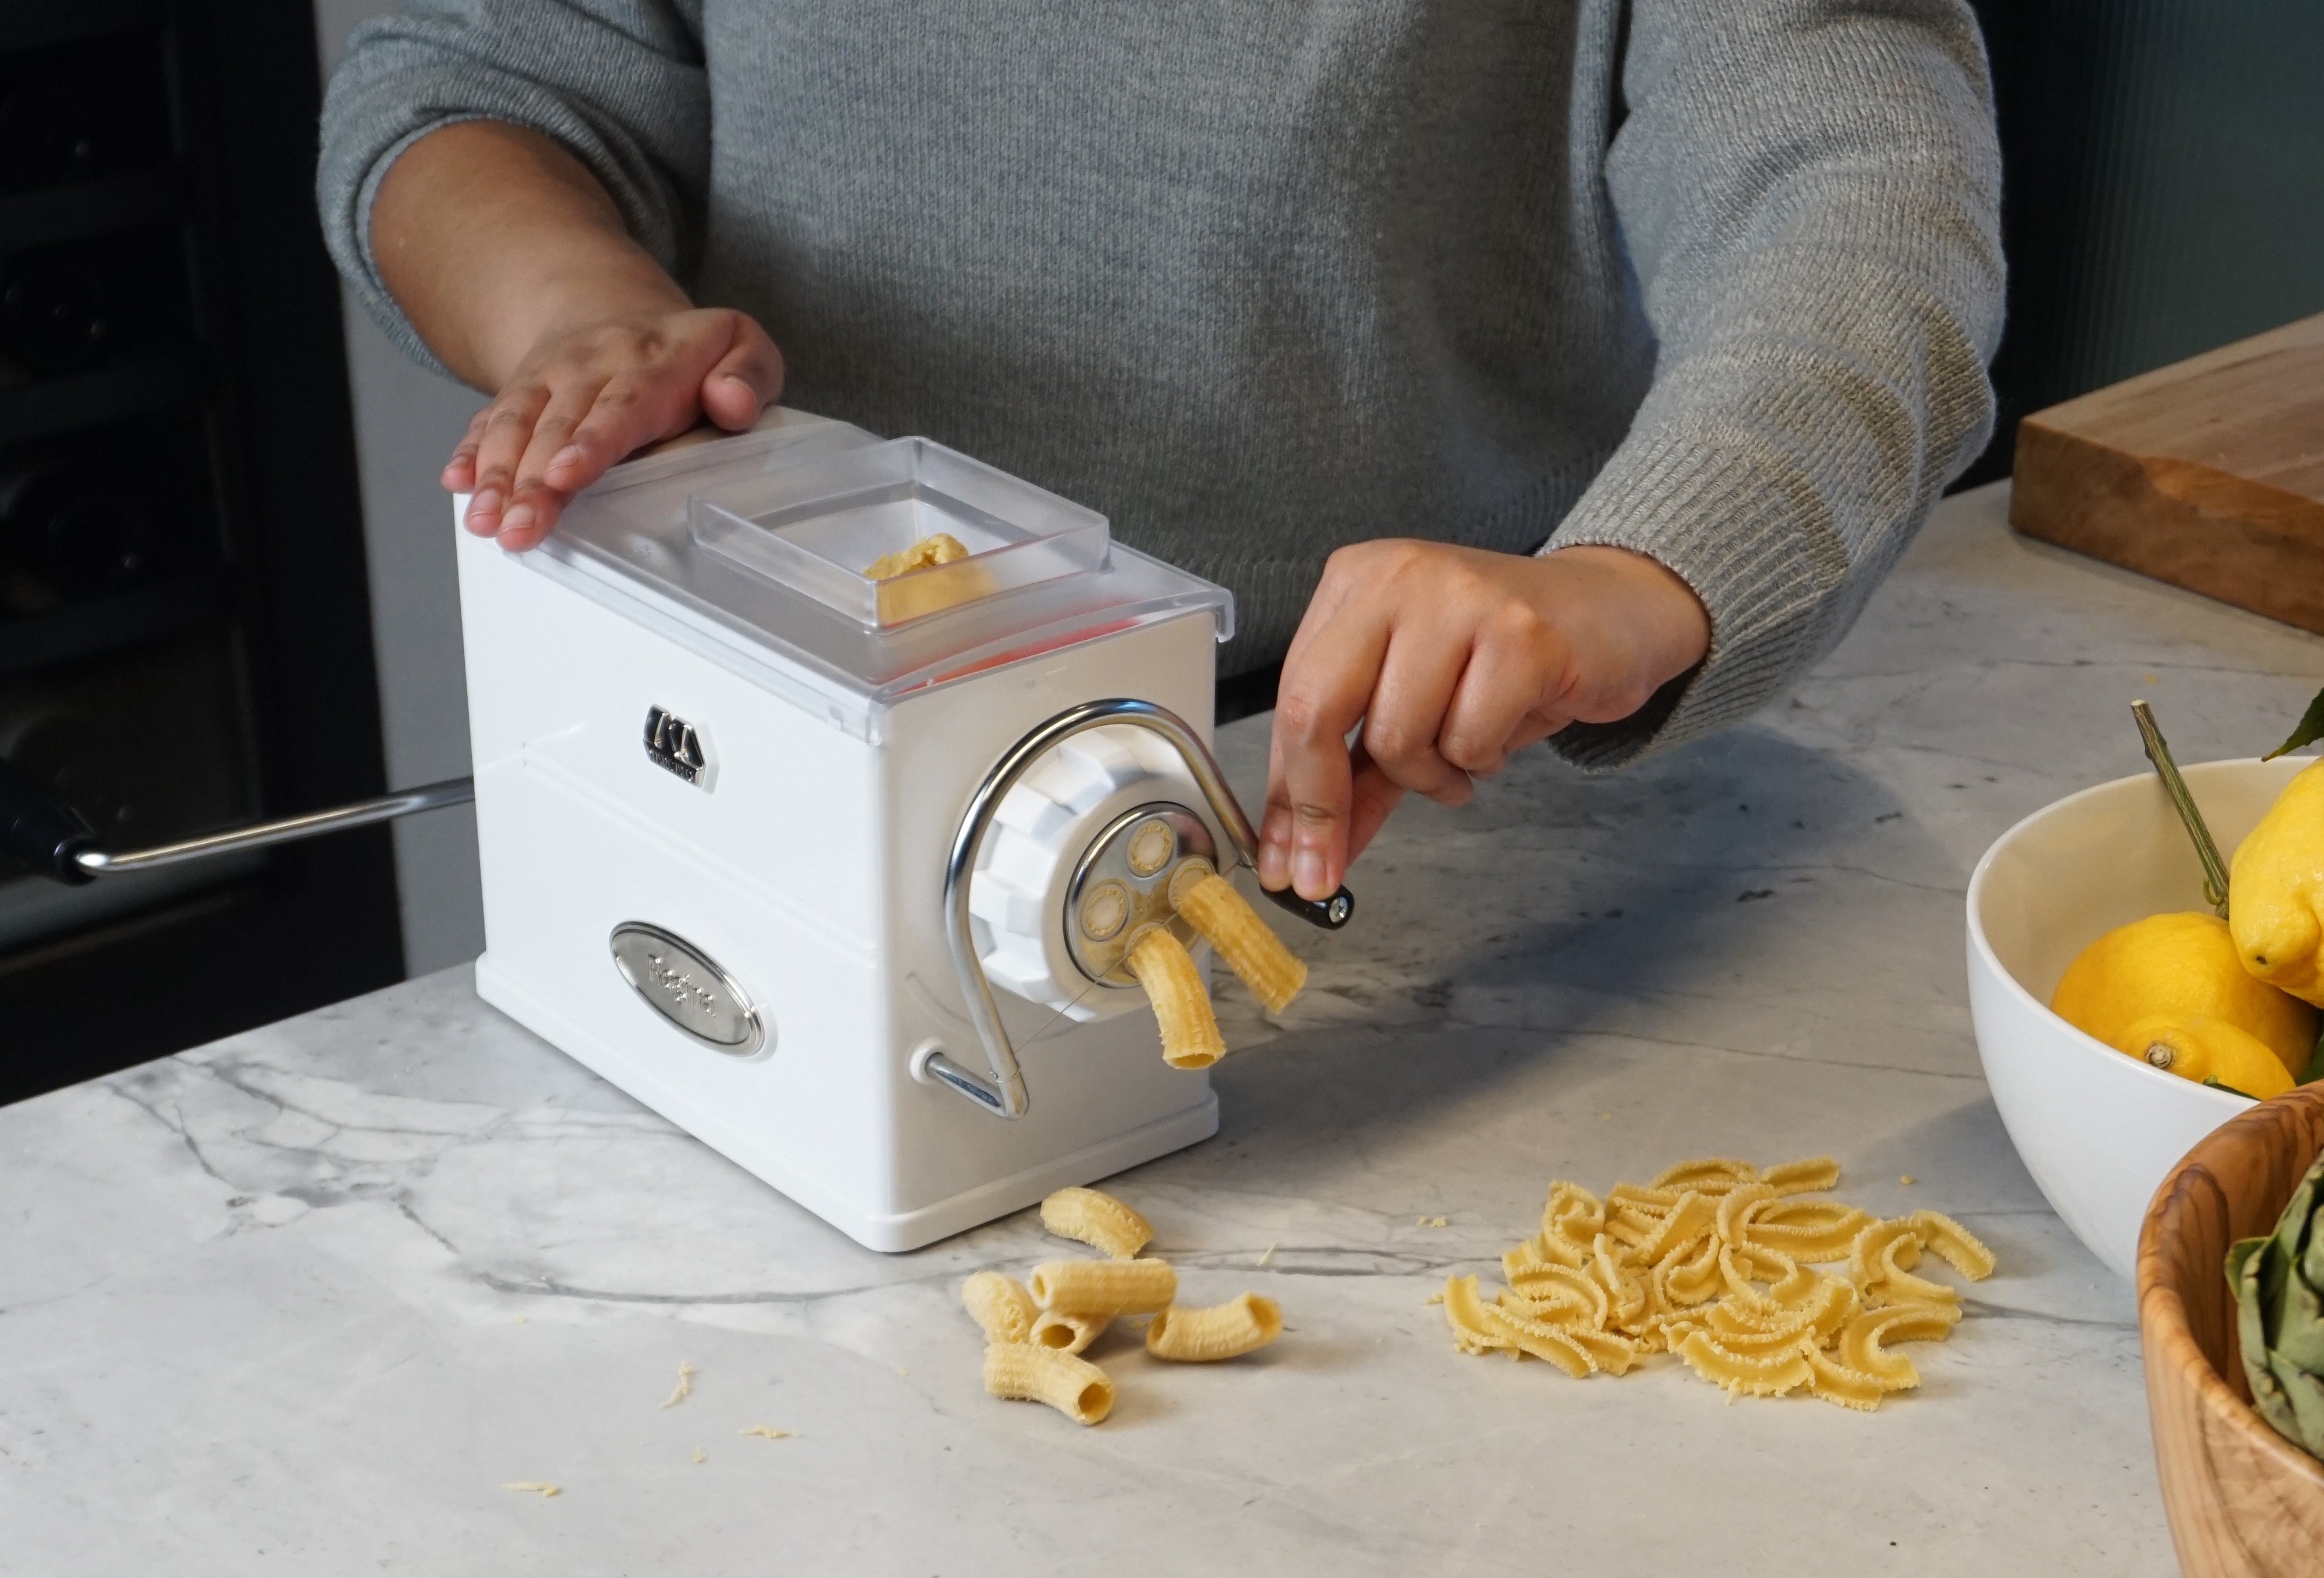
Pictured: The Marcato Regina Pasta Extruder, halfway through cutting large macaroni—one of the five interchangeable dies for different shapes. Dough must be fed into the machine through the top and cranked forward.
We love the Marcato Regina because it was designed for use at home. It does not require electricity; it is easy to set up for use and pull apart for cleaning. It makes five different shapes (rigatoni, fusilli, large macaroni, small macaroni, and bucatini). The dies are stored inside the machine, and the guillotine-style cutting wire is integrated into the machine, so storage is more streamlined.
However, there is a learning curve, as the rules for making extruded pasta differ slightly from regular rolled or filled pasta. The good news is that because we did all the testing, we can guide you on what you should and should not do.
Use the Right Dough For Extruded Pasta
The dough required for extruded pasta needs to be drier and tougher than regular pasta dough. This is because when you feed the dough into the extruder, the machine kneads the dough a little before it creates the shapes—not the case for pasta rollers like the Marcato Atlas 150. Extruded dough often includes equal parts or a large amount of semolina in addition to ‘00’ pasta flour. Per Pasta Evangelists, this is because semolina has less elasticity, which ensures tubed shapes like macaroni don’t lose their shape when cooked.
Extruded pasta dough also skips the resting period that is crucial for regular pasta dough, as the resting allows the dough to become more elastic, which is not what we want in this case. If you refrigerate dough overnight, make sure it is back at room temperature and soft enough to squeeze a little without crumbling. It is very important that the texture of the dough is correct before you extrude—too soft a dough will affect shapes and make the machine difficult to clean, too hard a dough could put too much strain on the machine.
Many extruded dough recipes skip eggs and only use water, flour and semolina. We encourage experimentation to find the dough that best suits your taste and dietary restrictions. However for beginners, we recommend starting with an egg-based dough, as the eggs make kneading flour and water into a ball much easier. Our recipe (below), which we adapted from the Marcato Regina Extruder manual, is excellent for practising.

Pictured: Bucatini, made with the recipe below and the Marcato Regina Pasta Extruder Maker.
Extruded Pasta Dough Recipe
Ingredients (serves 6):
• 250g ‘00’ flour
• 250g semolina
• 5 whole eggs
• 250g ‘00’ flour
• 250g semolina
• 5 whole eggs
- Put the flours in a large bowl and whisk together. Make a well in the centre and add the eggs. Whisk the eggs with a fork, then gradually pull in flour into the eggs, and when it looks like it’s sticking together, switch to a dough scraper and mix in the bowl until you have a mass that can form a ball.
- On a work surface, or staying in the bowl, use your hands to knead the dough until it is a relatively smooth ball—soft, but not elastic. It should have some lines and lumps, looking but not feeling like a rock (see visual cues below). It should not stick to your fingers. If the dough is too dry, add a few drops of water; if it’s too wet, sprinkle more flour.
- Extrude the pasta as soon as you’re done kneading the dough. If you store it in the fridge, make sure it’s completely room temperature and soft enough to press without it crumbling. Before extruding, break up the ball of dough into smaller pieces that will fit through the top window of the Marcato Regina extruder—for this recipe, six small balls are ideal, as they make six portions. Follow the instructions below on how to use the extruder to shape the pasta.
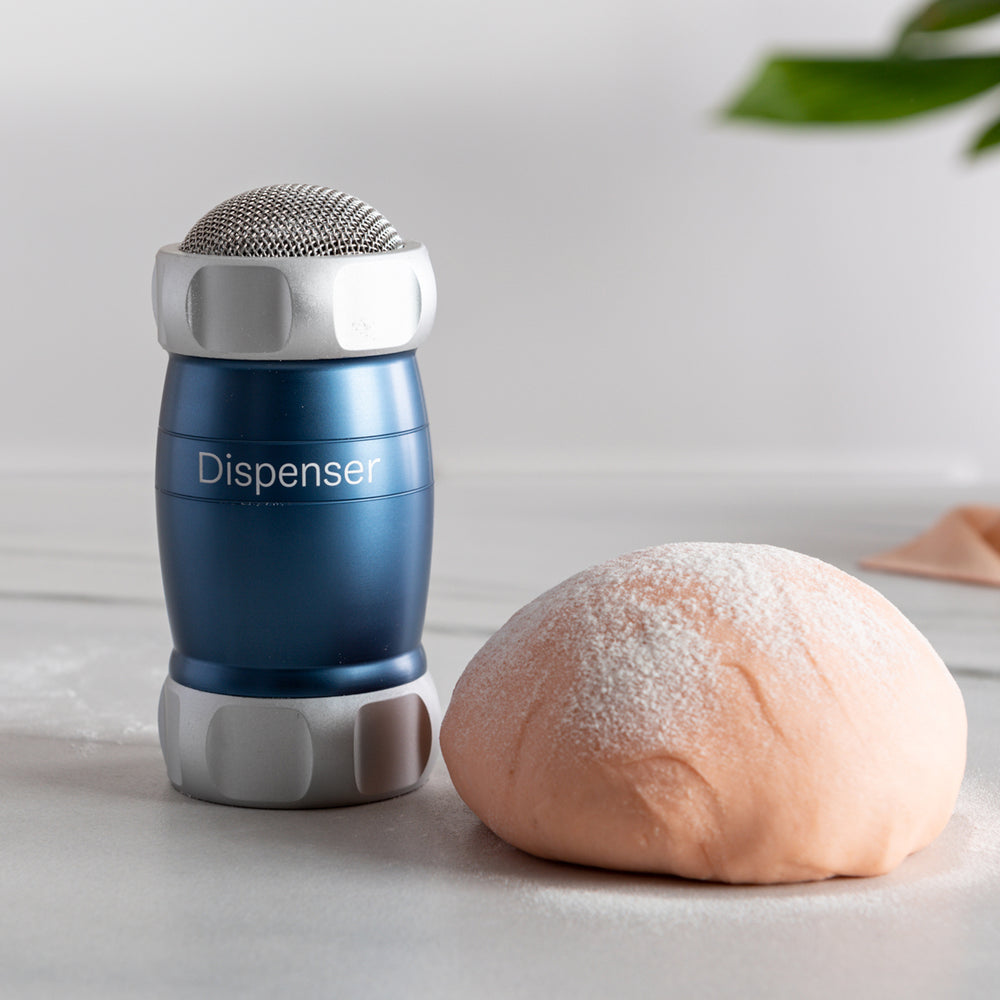
- Once you’re done shaping the pasta, sprinkle all over with semolina to prevent the pieces from sticking together. You can store pasta in the fridge for up to two days, or in the freezer for up to two months.
- To cook, set a pot of water to a boil. Add a generous amount of salt and cook the pasta for 2-3 minutes, or until the pasta floats to the surface.

Pictured: Extruded dough is ready for the machine when it is soft but a little lumpy; it should not stick to your fingers or crumble.
How to Use the Marcato Pasta Extruder Maker
- Open the top of the machine. You’ll see a little tray with four different dies; the fifth die will be attached to the end of the machine. Remove the tray, decide which die to use, and replace the die screwed onto the ring nut at the end of the machine with it (or keep the die already affixed to the ring nut, if that’s the shape you want to make).
- To replace the die on the ring nut, lift the arc-shaped cutter, unscrew the ring nut, and swap the dies. Make sure the metal and plastic layers of the die match up and align with one another. Position the die in the centre of the ring nut and screw the ring nut back into the machine. Use the wrench to secure it into place. Pull down the arch-shaped cutter to check whether it goes all the way down. If it doesn’t move past the die, tighten the ring nut more, until the cutter can go all the way down. Lift the cutter back up and leave it there so it is ready to cut once the pasta goes through.
- Clamp the machine to a work surface, making sure you have enough space to rotate the crank in a full circle. Test this in the lower (slow) and upper (fast) holes. Take note of which direction the crank makes the screw-shaped inner mechanism move—you want to rotate the crank in the direction that causes the inner mechanism to move towards the die at the other end of the pasta maker.
- Feed the dough into the top window of the Regina Extruder, in small portions (see above), and rotate the crank. You can use the slow or fast hole for the crank; just make sure that you are rotating the crank so that the corkscrew-shaped mechanism inside is pushing in the direction of the die. At the end of the machine, you’ll see the shapes come through.
- Use the arc-shaped cutter to cut where you see fit. Feel free to get creative—extra short rigatoni are great for adding to soups and stews, while longer fusilli (similar to fusilli lunghi) makes a classic tomato sauce pasta a bit more interesting. When you’re done shaping, sprinkle the pasta all over with semolina so the pieces do not stick together.

Pictured: Close-up of the Large Macaroni die, which can be replaced with four other dies.
How to Clean the Marcato Pasta Extruder Maker
The machine is much, much easier to clean once the pasta stuck to it has dried. We recommend disassembling the parts; lifting the red tab will release the corkscrew mechanism. Let the pasta dry for two hours or more, then scrape off the dough from every part. To get dough out of the smaller parts of the machine and dies, use a brush or a toothpick. Do not wash the machine and components with water and soap or put any part in the dishwasher. If you do, make sure to dry immediately and thoroughly. Reassemble the parts and store.