How to Make a Stainless Steel Pan Stick Less
Stainless steel pans are good at everything. They’ll saute vegetables, simmer stock, bake cakes, sear steaks. You can use them on all hobs including induction and in the oven (if they fit). But there is one thing that seems to scare a lot of cooks away – the fear that food will burn to the surface of a stainless steel pan, and require arduous cleaning or replacing altogether.
The good news is that food sticking to the surface of a stainless steel pan is not a fault with the material, but the way the material is heated. Once you know how to heat stainless steel properly, you can rely on your pan to release food hassle-free. Even if it takes some trial and error, fear not – stainless steel pans can be easily restored to fresh condition (more details below), even with the most stubborn stains.
This article primarily refers to stainless steel frying pans and saute pans, but you can apply these practices anytime you use oil to fry or saute ingredients in stainless steel pans (as opposed to methods that require water, such as boiling, steaming, etc).
How to Heat Stainless Steel Properly
Unlike non-stick or well-seasoned iron pans, a stainless steel pan’s surface is not smooth on a microscopic level. It has pores that contract and expand with heat. So in order to cook food on stainless steel without it sticking, you need to make sure the surface is as smooth as possible – which you can do with the right medley of heat and oil. This creates a sort of barrier between the steel and your ingredients, allowing them to easily come off the surface.
To do that, you need to A) pre-heat the pan before adding oil, and B) make sure the oil is hot enough for ingredients (but not too hot). Be alert – this process happens quickly! Here is a detailed breakdown:
Step 1: Pre-Heat the Pan
Heat an empty stainless steel pan over low-to-medium heat on the hob, and let it sit there, empty, for 2-3 minutes. (Since every hob is different, and different stainless steel pans vary in construction, this will take some experimenting before you find the right heat-time combination for your pan.) If you go to high heat, make sure you do so gradually – especially on induction hobs, as there is a risk of pans warping. Also make sure reduce the temperature back to medium-to-low so the oil does not burn when you add it in the next step.

There are two methods for figuring out whether the temperature is ready for oil:
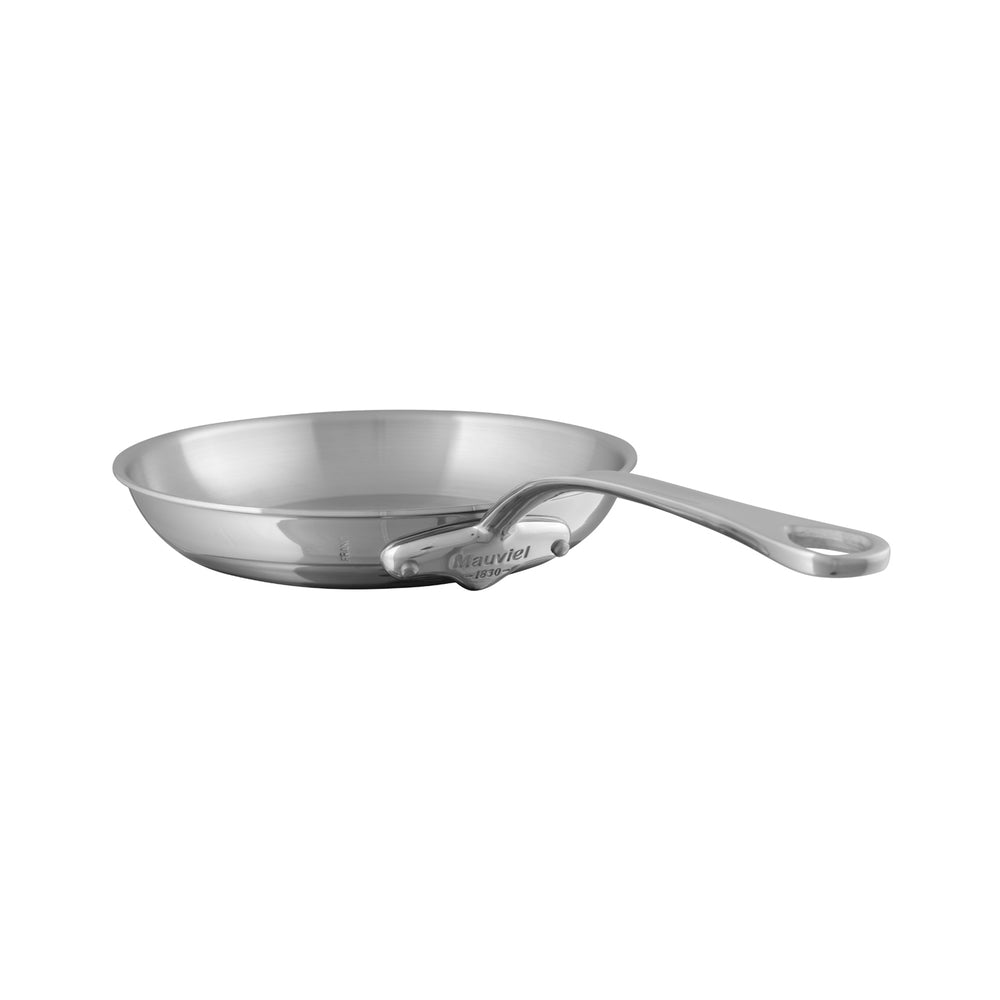
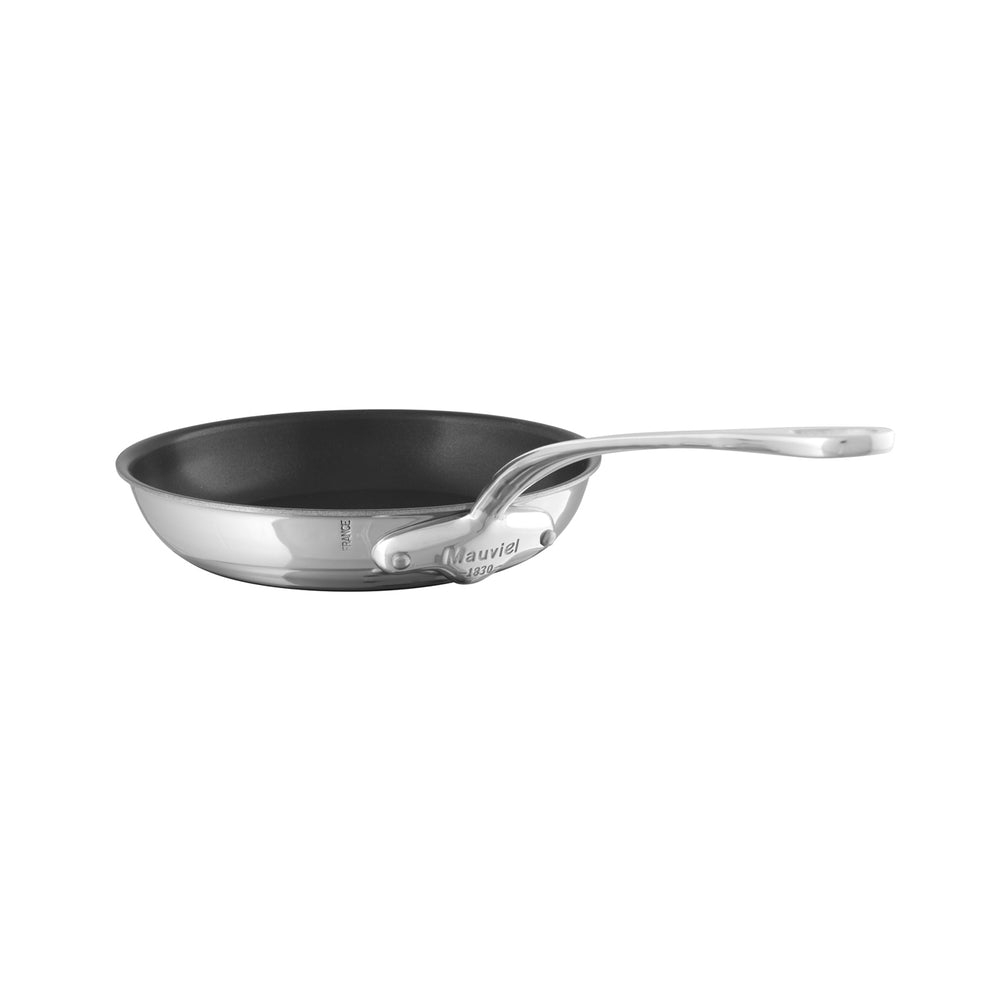
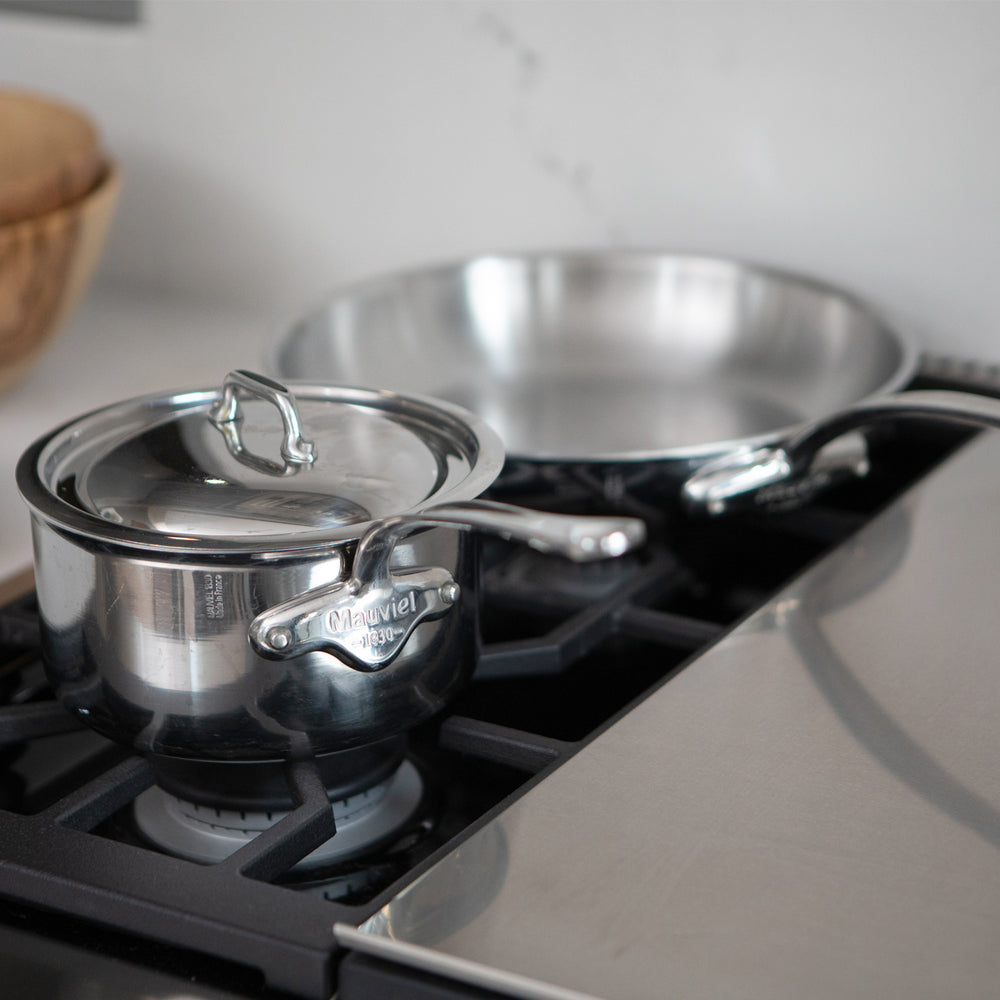
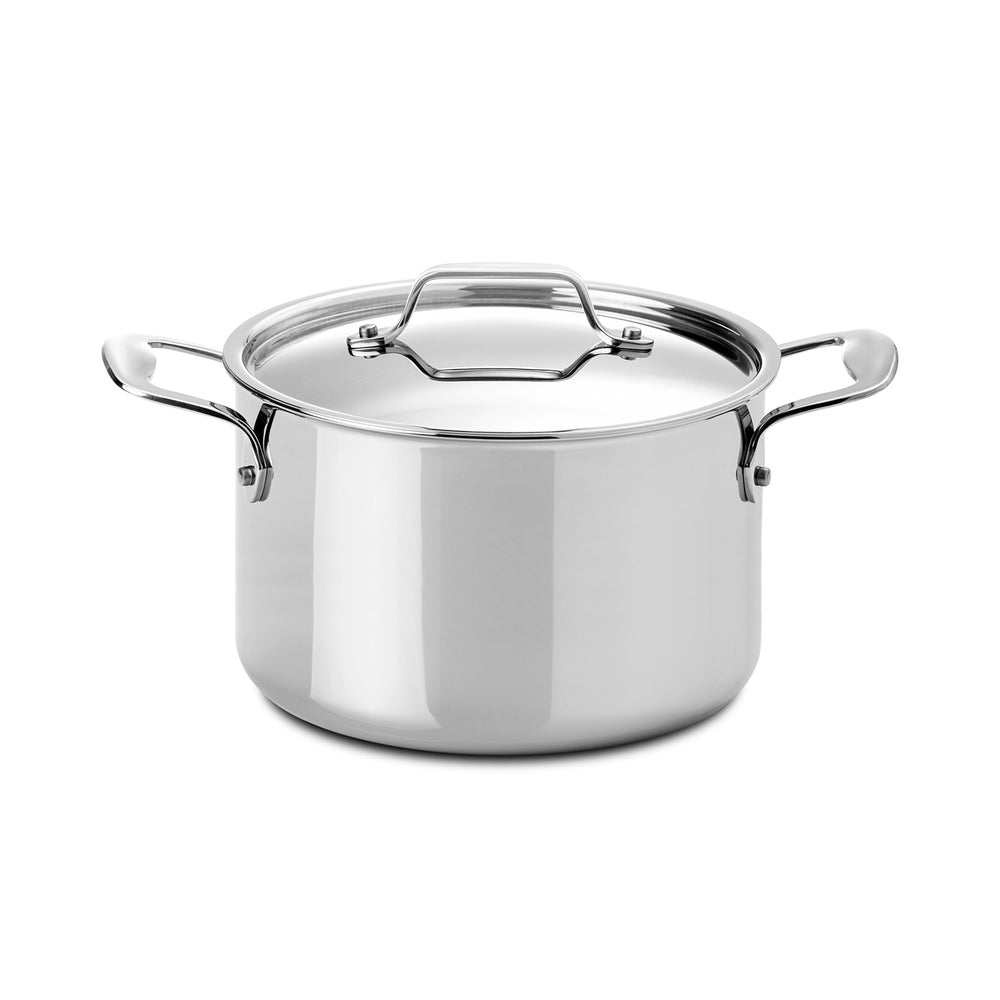
A tri-ply stainless steel pan like our range from Silampos (pictured) or All-Clad D3 will heat up quicker than a five-ply stainless steel pan like Mauviel M'Cook, All-Clad D5 or All-Clad Copper Core, because there are fewer layers of metal to move through.
There are two methods for figuring out whether the temperature is ready for oil:
-
The Water Droplet Test (also called the Mercury Ball Test or Leidenfrost Effect): Add about a teaspoon of water to the pan. If the water gathers into one large, marble-like drop that bounces from the sides of the pan, it's ready. This may not happen immediately – the water may spread into many small droplets around the pan first, but soon enough, it will gather into one beady drop that bounces around the pan.
If the water fizzles and foams but doesn't form beads that eventually become one bouncing bead, your pan is too cold. If the water breaks off into many small beads around the pan and evaporates (as opposed to gathering into a single bead and bouncing around the pan), it’s too hot. Remember to wipe off the water with a tea towel or let it evaporate before you add the oil, so it doesn’t sputter.
- The Hover Test: A quicker but more imprecise way is to hover your hand a few inches from the pan’s surface. If you’re able to do this for more than six seconds, it’s too cold. If you need to immediately pull your hand away by instinct, it’s too hot. The sweet spot is for your hand to be able to hover for 4 to 6 seconds before you need to pull away.
Step 2: Add Oil / Fat
Add oil or fat, and move it around the pan so it covers the surface entirely. (And yes, you need oil – without it you cannot create the necessary barrier.) If your pan is above medium heat, bring it to medium or below so the oil doesn't heat too quickly. When it’s ready for food, the oil will glisten, shimmer, and spread around the pan easily. To test whether the oil is ready for food:
- Using tongs, bring a small portion of the ingredient you want to cook to the surface of the pan. (Hold it in place; do not let go of the tongs.) This could be the bottom of a chicken breast fillet, the side of a peeled prawn, or a small vegetable. If it sizzles immediately, the pan is ready, and you can drop the rest of the ingredient(s) into the pan. If it doesn’t sizzle, keep holding the ingredient and, a few seconds later, lower more of it into the pan to listen for the sizzle before releasing it completely. Alternatively, use an ingredient you don’t mind sacrificing to test the oil, such as a piece of bread or a vegetable
- If you have a high-heat culinary thermometer, the ideal temperature for frying will be between 160°C and 180°C. Make sure you tilt the pan so the oil is pooled at the side, so you can measure the oil’s temperature and not the surface of the pan’s. This is the ideal method for deep frying.
And that’s it. It may seem like a lot to remember, but once you get used to it, it becomes second nature.

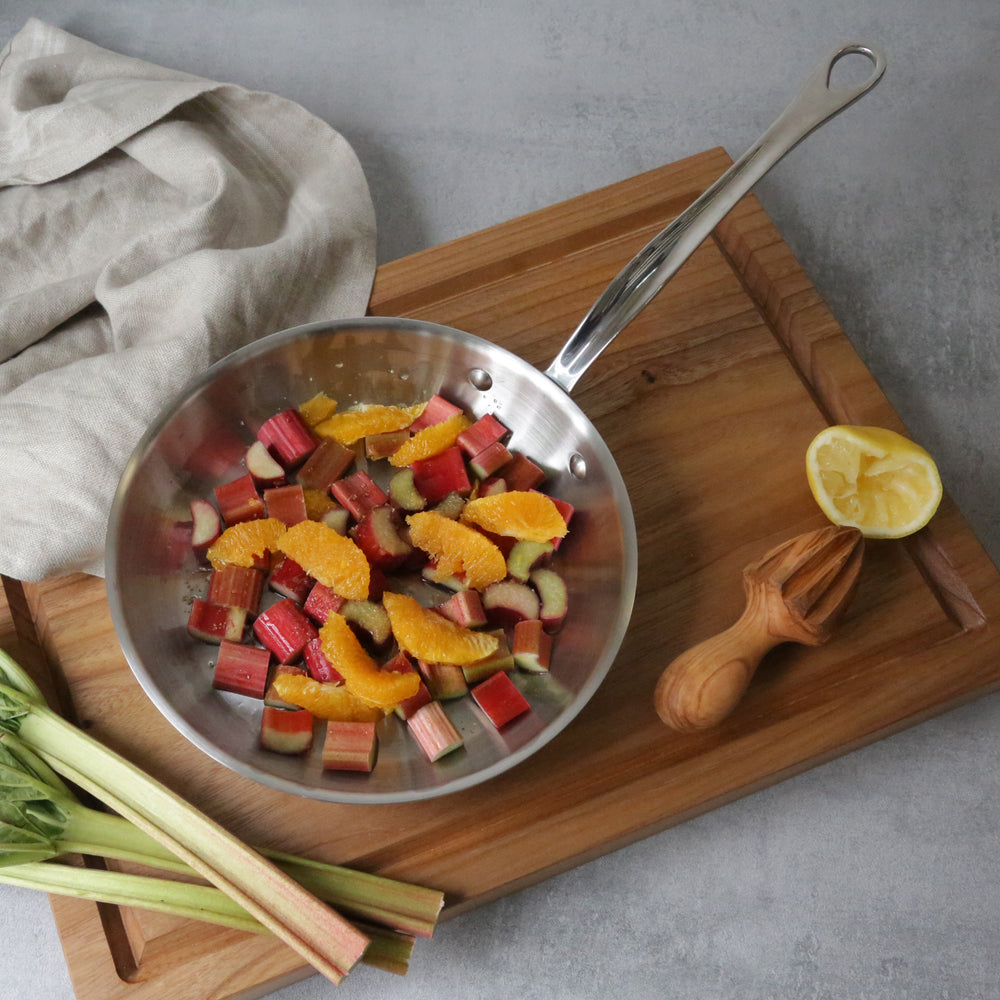
Make sure ingredients to bring ingredients to room temperature to get a good sear.
Tips for Cooking on Stainless Steel
- Bring ingredients to room temperature, as much as possible, before adding them to a hot stainless steel pan. This ensures the temperature of your pan does not drop too much, which would break the barrier you have created to keep the pan stick-resistant. It allows food to cook evenly; i.e. the cold middle won’t take much longer to cook than the warmer sides. This way you can avoid patchy searing.
- Once your ingredients are happily sizzling away in your pan, leave them be for a couple of minutes – this is especially important for proteins (chicken, prawns, tofu, etc). You want to give the ingredients enough time to brown. Gently prod your ingredients when you’re ready to flip or move them around (i.e. if you’re sautéing vegetables or making a stir-fry). If it is not coming off easily, it needs more time. If it comes off easily, you’re good to proceed.
- When you want to get a good brown colour on ingredients, do not overcrowd the pan – this will drop the temperature, breaking your stick-resistant barrier. It will also cause food to steam more than sear, preventing crispiness. Work in multiple batches if need be. For proteins, each piece should have a couple of centimetres around it. For stir-fries or sautéed vegetables, try to make sure each piece has contact with the bottom of the pan.
Can I Cook Eggs on Stainless Steel?
If you pre-heat the pan and the oil properly, yes, but it will take some practice, and it won't be 100% stick-free. Easily cleanable, but not stick-free enough to slide around the pan without the aid of a spatula. This is because the protein in an egg, combined with its liquid content, makes it prone to being absorbed by those stainless steel pores. (Pancake batters are similar – you need a very good heat-oil barrier for it to stay above the pores.) Moreover, because eggs cook so quickly, you need gentle heat, and as multi-ply stainless steel pans are very heat responsive, the pan and the oil can quickly become too hot and over-cook the egg.
Our team’s verdict is that we prefer having a non-stick or well-seasoned iron pan for tasks like eggs, pancakes, thinly filleted fish, and other foods that stick easily and/or require gentle heat.
Our team’s verdict is that we prefer having a non-stick or well-seasoned iron pan for tasks like eggs, pancakes, thinly filleted fish, and other foods that stick easily and/or require gentle heat.
How Do I Clean Stuck-On Bits?
If you’ve tried everything you normally would – long soak in soapy water, a vigorous scour, adding boiling water to a pre-heated pan, and the like – we’ve found this method most effective: Add a good amount of bicarbonate of soda to the pan (a quarter to a half cup; adjust based on your pan size). Add enough water to go up to half the pan’s height, and boil. As the bicarbonate of soda boils, the heat contracts stainless steel’s pores while the alkaline quality of bicarbonate of soda works to dissolve dirt, grease and grime. Carefully use a wooden spoon or spatula to scrape off the stains while the water is hot, then move to the sink and clean as above.