HORL 3 Knife Sharpeners: 5 Tips for the Perfect Edge
HORL knife sharpeners are a game-changer. They combine the speed of a pull-through sharpener with the gentleness of a whetstone. Best of all, unlike a whetstone, there’s no guesswork in determining the correct angle – HORL 3 sharpeners do that for you. Expect the kind of sharp knives used at Michelin-starred restaurants.
To get the best sharpening results with a HORL 3, there are a few best practices to follow. But first, familiarise yourself with the basics of using a HORL 3 sharpener by reading our introductory article here, or look at the step-by-step visual guide below.
Note: The older version of these knife sharpeners, the HORL 2, is being discontinued by the supplier. Both versions of HORL knife sharpeners are used in the same way, have the same function, and are equally durable; but the features are slightly different. To read about the difference between HORL 2 and HORL 3 knife sharpeners, read our article here.

Tip 1: Stay Firm, on a Flat Surface
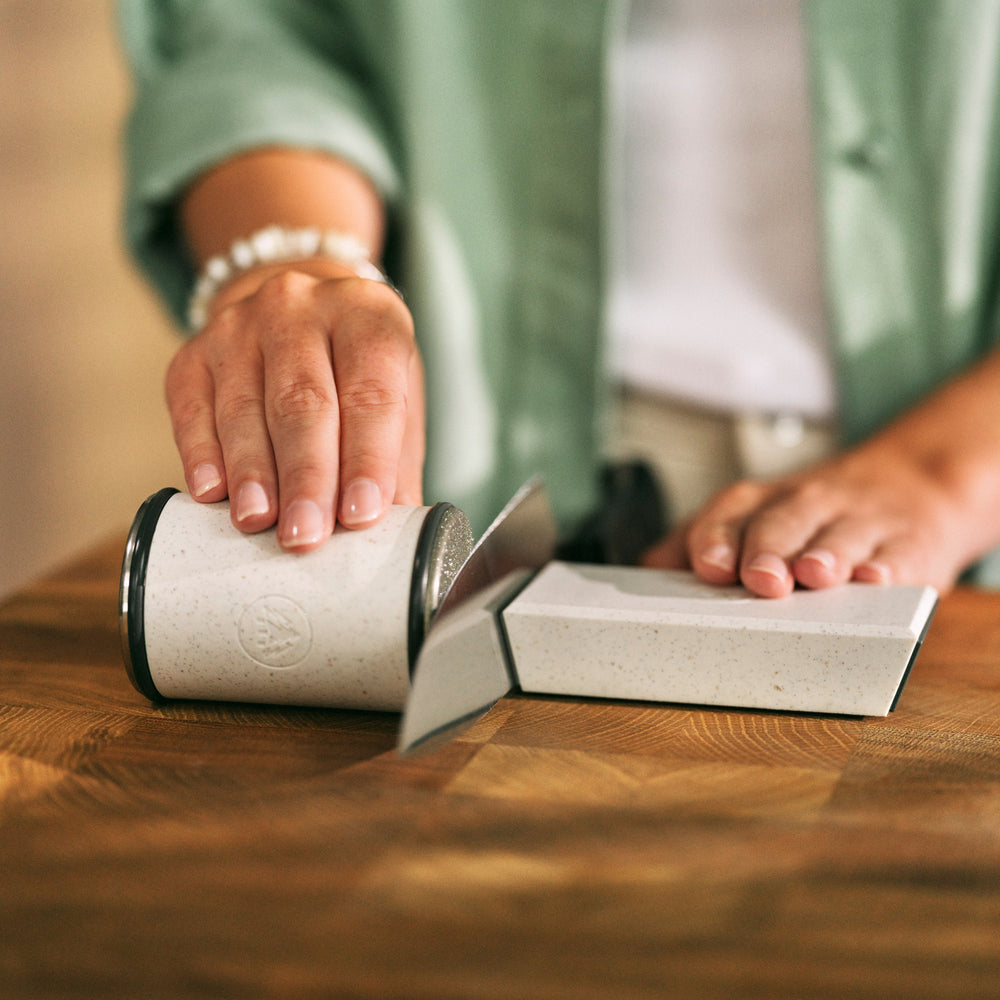
Do not attach the angle bar to the knife in mid-air and put it on a table – you need to start with the back of the knife handle on a flat surface, blade side up.
To do this, firmly hold the back of the knife handle in place on a flat surface, then move the angle support towards the blade. Do this slowly. When the magnetic angle support is close by (use the 15° side for Japanese knives or the 20° side for Western knives), it will attach to the knife to form the exact 15° or 20° angle. (The HORL 3 Pro sharpener has a wider range of angle options.) Once attached, do not move the knife. Try to keep it as stable as possible when you sharpen.
Memorise this process and make it a habit – it is key.
Tip 2: Sharpen the Entire Blade
When you use a knife, you rarely use every inch of the blade equally. This means that certain sections of the blade will be blunter than others, due to its impact with the surface of a chopping board. That’s why it’s important to ensure you sharpen and hone the entire length of a blade – so you can ‘reset’ the knife.
The best way to guarantee you can reach every part of the blade when using a HORL 3 sharpener is to attach the magnetic angle support to the knife blade right in the blade’s centre. This places the tip and the base of the blade equidistant, providing more balance and stability when you move the sharpening and honing stones along the blade’s edge.
Tip 3: Introduce Your Knives to the Horl Angles
The exact sharpening angle of a blade will differ between manufacturers – it won’t always be exactly 15° or 20°. So, to get the best results from a HORL 3 sharpener, you have to introduce a knife to the Horl’s angles the first time you sharpen it, using the marker test. (Reminder: That’s 15° or below for Japanese blades and 20° or above for Western blades.)
Think of the marker test like you would seasoning a cast iron or carbon steel pan for the first time – you are altering the pan's surface to make it stick less in the future. Same with a knife blade: You are altering the blade's angle to make it easier to sharpen in the future.
To do the test, attach the knife blade to the magnetic angle support and use a marker to colour in the edge (do both sides if your knife is double-sided, as most kitchen knives are). Then sharpen the blade as you would normally (steps 1 and 2 in the image above), until the mark left by the pen has disappeared. Hone the side of the knife using the same amount of strokes you used for sharpening, as in the instructions above. Repeat for the other side. Your knife blade will now be ready to chop.
This ‘introduction’ process is essential for every knife you want to sharpen using a HORL 3 sharpener. Though not necessary – as this will happen naturally over time as you use a HORL 3 sharpener – this primes your blades for the best results when sharpening.
Tip 4: Use Accessories
One of the best features of
HORL 3 sharpeners is that the stones on the roller are interchangeable. You can unscrew and replace them with higher- or lower-grit stones for superior sharpness, including their new ultra-fine Kagami disc. These take up far less space than separate, higher-grit whestones – especially when stored in the HORL 3 Storage Box. Remember that you always need to use the default HORL honing stone before you use higher-grit honing stones, moving progressively higher.
Our favourite accessory is the HORL Finishing Leather. Also called a leather strop, its function is to remove any metal residue and inconsistencies that occur naturally when sharpening and honing. The result is a noticeable, razor-sharp finish that glides through ingredients.
The combined effect of higher-grit stones and the Finishing Leather is incredible – you can expect to slice tomatoes, cucumbers, potatoes, or any other fruit or vegetable as fine as a mandoline would.
Tip 5: Don’t Let Your Blades Get Too Blunt!
Sharpening is a two-step process that consists of A) sharpening and B) honing. If you sharpen a knife, you must hone it too – otherwise you will be left with a jagged edge that will not cut ingredients properly. However, you can hone a knife without sharpening it first, if you do it early (soon after buying the knife) and regularly. This touches up the blade’s edge without removing much metal.
It’s better to hone a knife more frequently to maintain the sharp edge than wait for your blade to get blunt before you sharpen and hone it. In addition to taking half the amount of time, it extends the durability of your knife. You’ll see chefs do it a lot more often than home cooks, as they need to ensure their blades are at their best every single day.
But how do you know whether your knife needs sharpening and honing, versus just honing? Do the tomato test: Slice a tomato. If the tomato squishes and forms puddles – or the knife slides off the tomato’s surface – it needs to be sharpened and honed. (And soon, because a blunt knife is dangerous.) If the tomato can be cut but not very neatly, you can skip sharpening and just hone.