Andra's Sourdough Bread
This recipe, broken down into sections, comes to us from Andra of Sourdough Explained. Her method is detailed but simple to follow, perhaps because of her motto: ‘If I could make this happen, everyone can.’ As a non-trained baker who started baking bread only three years ago in her London kitchen, she knows that practice, patience, and a very active starter are the keys to perfect, bakery-style loaves.
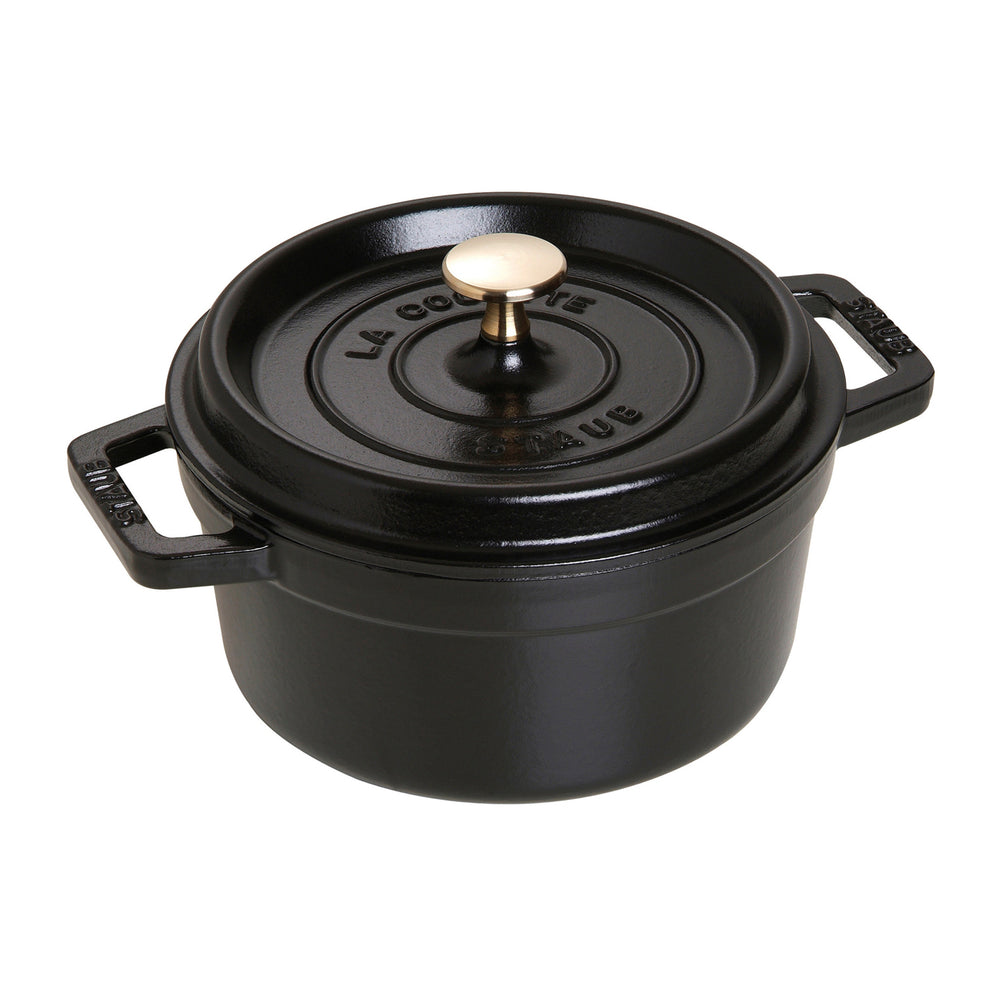
For this recipe, you’ll need a kitchen scale, large (preferably wide) mixing bowl, tea towel, dough scraper, proofing basket, scoring lame, and cocotte. You’ll also need an active sourdough starter (see ‘BK Tips’).
Makes 1 white sourdough loaf
Ingredients
350g water100g ripe sourdough starter
500g strong white flour
10g salt
Method: Mix Water, Starter & Flour
- Pour only 330g water into a mixing bowl, saving the rest for adjustments. Add all 100g of sourdough starter. Stir well by hand, until dissolved. Add 500g of flour by hand, and mix with a dough scraper until the dough comes together. Then mix with one hand until there is no flour left. Cover the bowl with a tea towel and let it rest on the counter for 1 hour.
- Before moving on to the next step, wet your active hand and diagnose your dough: If it feels liquidy, you’ll have to refrain from adding the remaining 20g of water. Instead, you will need to add only 5g, the bare minimum, to help you incorporate the salt. If it feels stiff, add the full 20g of water. Somewhere between wet and stiff? Add 10g or 15g. This step is important because the absorption rate of different types of flour varies.
Method: Add Salt
- Sprinkle 10g salt over the dough, and add the appropriate amount of water. With wet fingers, push the salt into the dough, then mix it by squeezing it through your fingers. The dough will separate before coming back together. Give the dough a light knead for 4 to 5 minutes. The dough should feel smooth, supple and shapeable. If your dough still feels stiff after this, cover with a tea towel and let it rest for 15 minutes. Still stiff? Add more water in 5g increments until it feels supple and shapeable. Once done, cover the bowl with a tea towel and let it sit on the counter for another hour.
Method: Stretch & Folds
- Once the dough has rested, you will need to ‘stretch and fold’ the dough four times, in 30 minute intervals. The number 4 is key here: Each time you do a ‘stretch and fold’, you turn the dough over itself 4 times, going full circle (one set). Then, you let it rest for 30 minutes and repeat the full circle of stretch and folds (four sets in total).
- To do the first set, grab one side of the dough and pull it up; stretch it gently, then fold it over itself so it lands on top of the opposite end. Do a quarter turn of your bowl, repeat. Another quarter turn, repeat. Another quarter turn, repeat. Done. You’ve come full circle. Rest for 30 minutes. Do the second set. Rest for 30 minutes. Do the third set. Rest for 30 minutes. Do the fourth set. The dough should now be ready for pre-shaping. It should feel lighter than before and airy. It will have risen a little and feel like a pillow. If this is not the case, then do another set of stretch and folds, let it rest for 30 minutes, and try again.
Method: Pre-Shaping
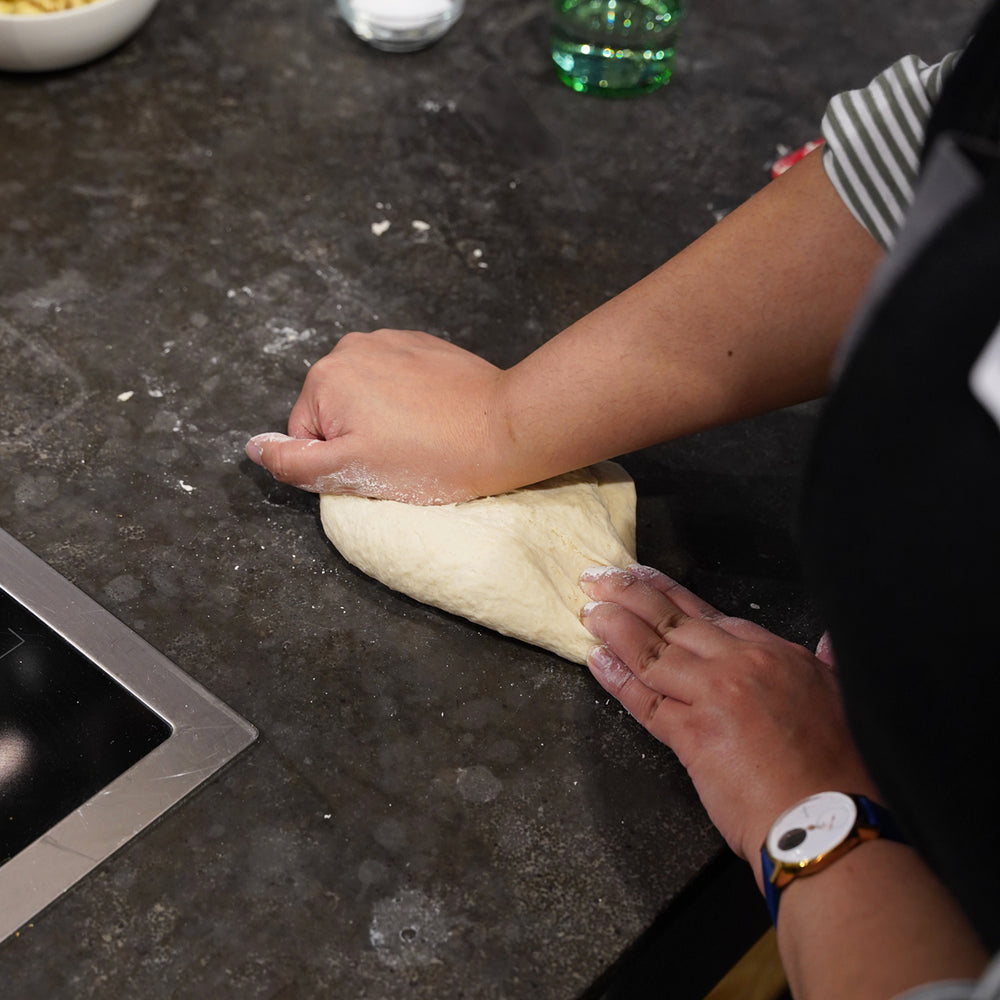
- Take the dough out of your mixing bowl and onto your work surface. Working quickly, bring sides of the dough to the middle, flip it over, and gently drag the dough towards you. Repeat this process again, until you have a relatively tight ball. Dust it with a bit of flour, cover with a tea towel, and let it rest for 30 minutes. (If your dough is rather stiff, skip this step and let your dough rest on the work surface for 1 hour, lightly floured on the top and covered with a tea towel.)
Method: Final Shaping & Proofing
- Generously flour your proofing basket. Using a dough scraper, flip the dough over entirely. With your hands, fold the top of the dough over itself, until it is about an inch away from the bottom. Fold the sides of the dough like a booklet: Right side of the dough towards the left, but not all the way—an inch or so before the edge. Fold the left side towards the right, about an inch before the edge. Now roll the dough from the bottom to the top, then drag it towards you to build tension and create a ball. Using a dough scraper, flip the dough and transfer to the proofing basket, where it will take on the same shape. Pinch the edges of the dough towards the middle and sprinkle flour over the dough in its proofing basket. Cover with a tea towel.
- You have two options for the final proofing. You can leave the dough, covered, on the counter for up to 2.5 hours (ambient proofing). Or you can put the covered dough in the fridge overnight (cold proofing).
Method: Scoring & Baking
- Place your cocotte, with the lid on, in the oven. Set the temperature to 250°C.
- Flip your dough onto a piece of baking parchment. It should be puffed up but still hold its shape. If you poke a finger into the dough, it should leave an indentation.
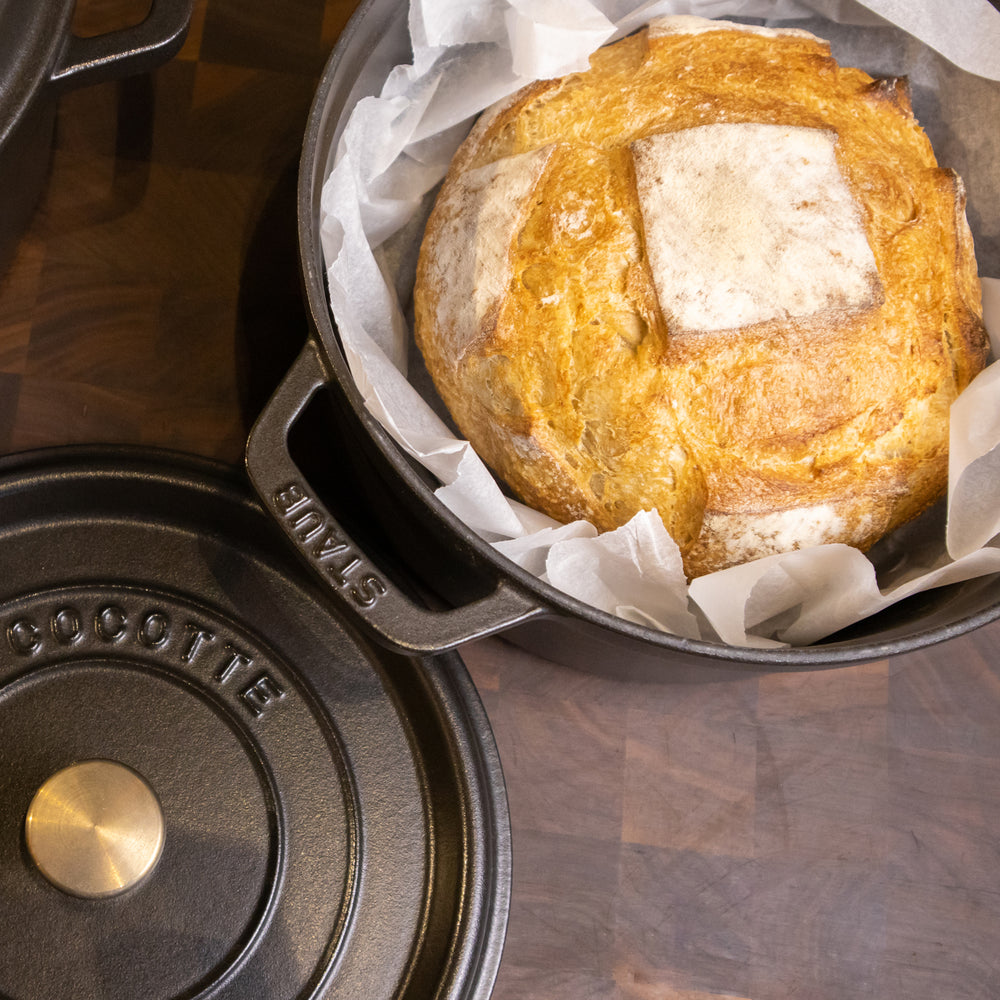
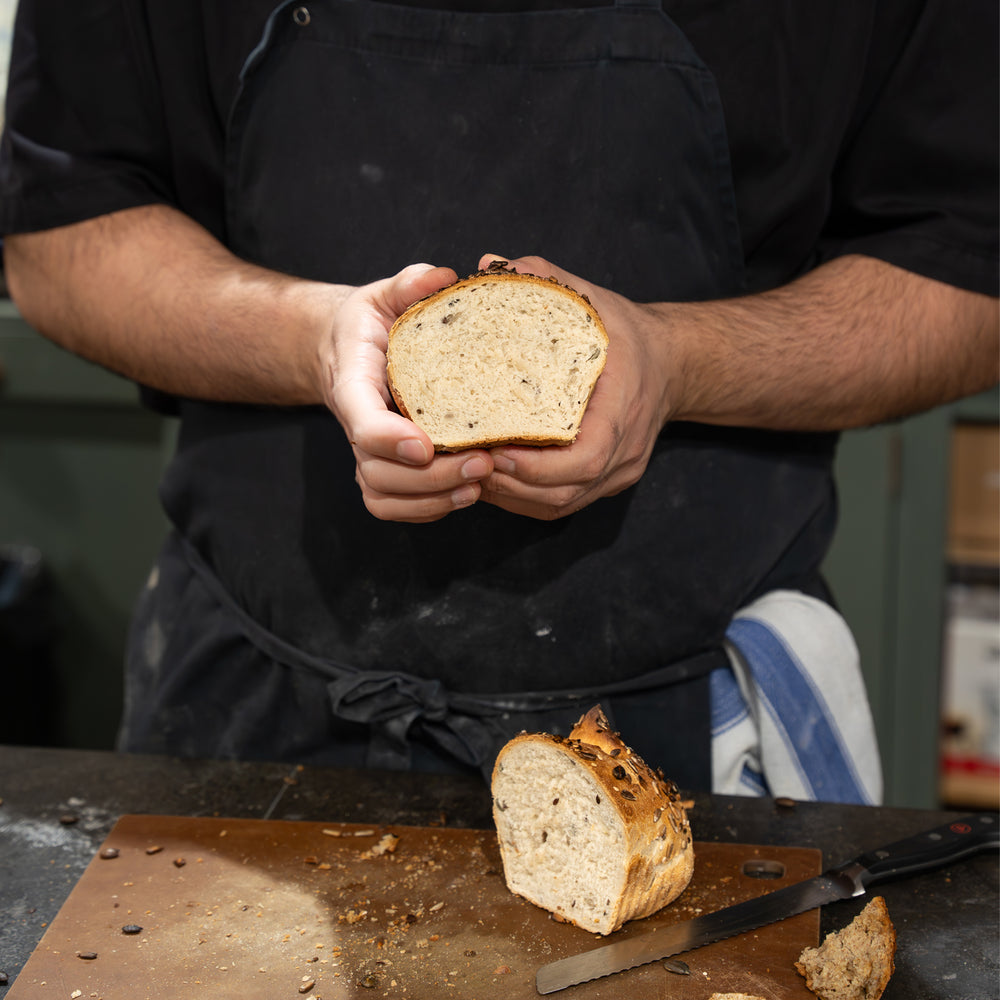
- Score the loaf by making one long, confident slash along the surface, or, if you’re more advanced, try a nice pattern. Take the cocotte out of the oven—be careful, it’s hot. Place the dough, with the parchment, into the cocotte and put the lid back on. Bake for 20 minutes. Reduce the temperature to 200°C. Take the cocotte out of the oven, remove the lid, and bake for another 25 minutes. Let it cool for at least 2 hours on a cooling rack before enjoying.
BK Tips
- Because a healthy sourdough starter is key to making sourdough bread—and making your own from scratch can be difficult—Andra recommends asking your local bakery or a friend to give you some of theirs, or purchasing a dehydrated starter to activate, for your first loaf. This takes the pressure off making it work, and the many frustrations of using an unripe starter. It also saves you a week of work! But if you must, she includes a guide to starting and maintaining a starter here.
- Use one hand for mixing, and keep a dough scraper handy so you can use your inactive hand to scrape the dough off your active hand. It’s worth keeping an empty bowl nearby that you can place scraps into, so you can discard it in the bin in one go. (Do not throw dough down the drain, as it could cause blockages.)
- Always use room temperature water; too cold and dough won’t rise, too hot and the yeast will die. The ideal temperature is 27-29°C.
- When dusting your work surface, proofing basket, and dough with flour, use rice flour, as that does not get absorbed into the dough and affect texture.
For visual cues on how to make sourdough bread step-by-step, visit Sourdough Explained (@sourdough_explained) on Instagram. You can find more guides on sourdough, such as how to make your own sourdough starter, as well as sign up for one-to-one coaching and online sourdough classes, on Andra's website here.