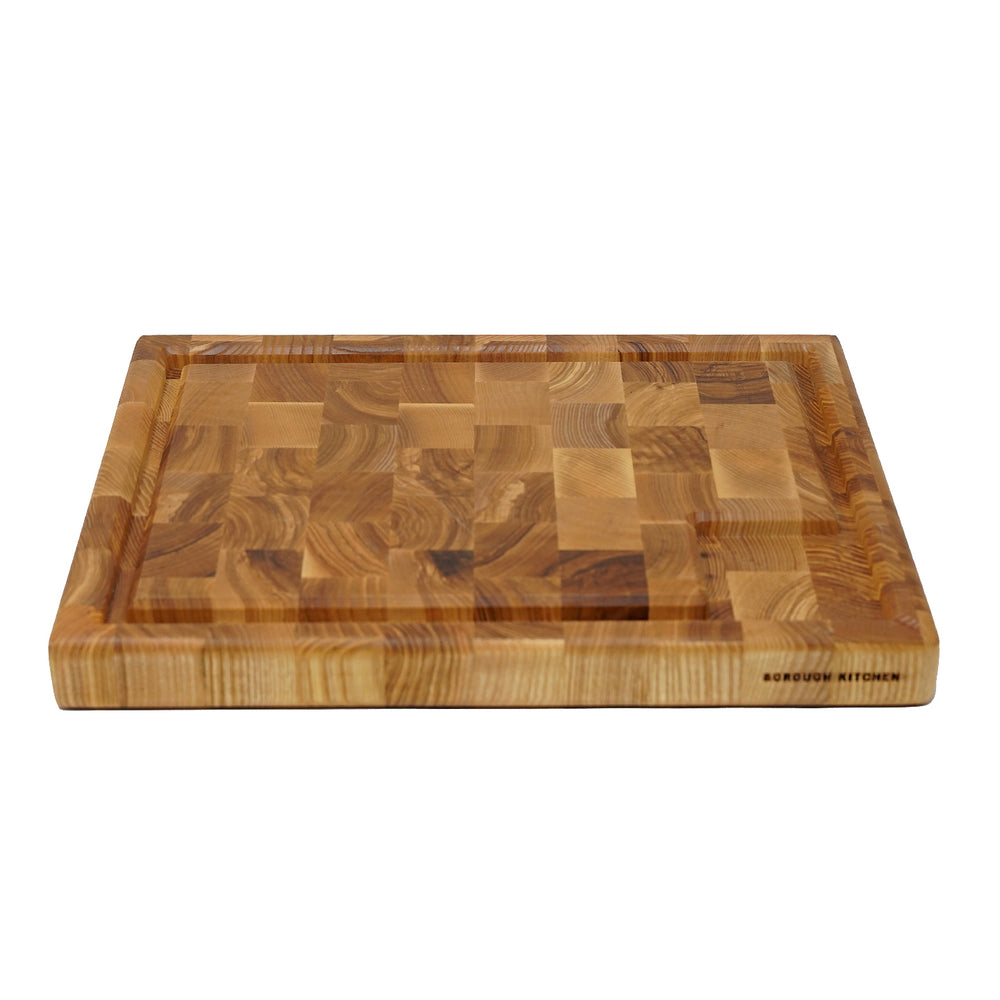
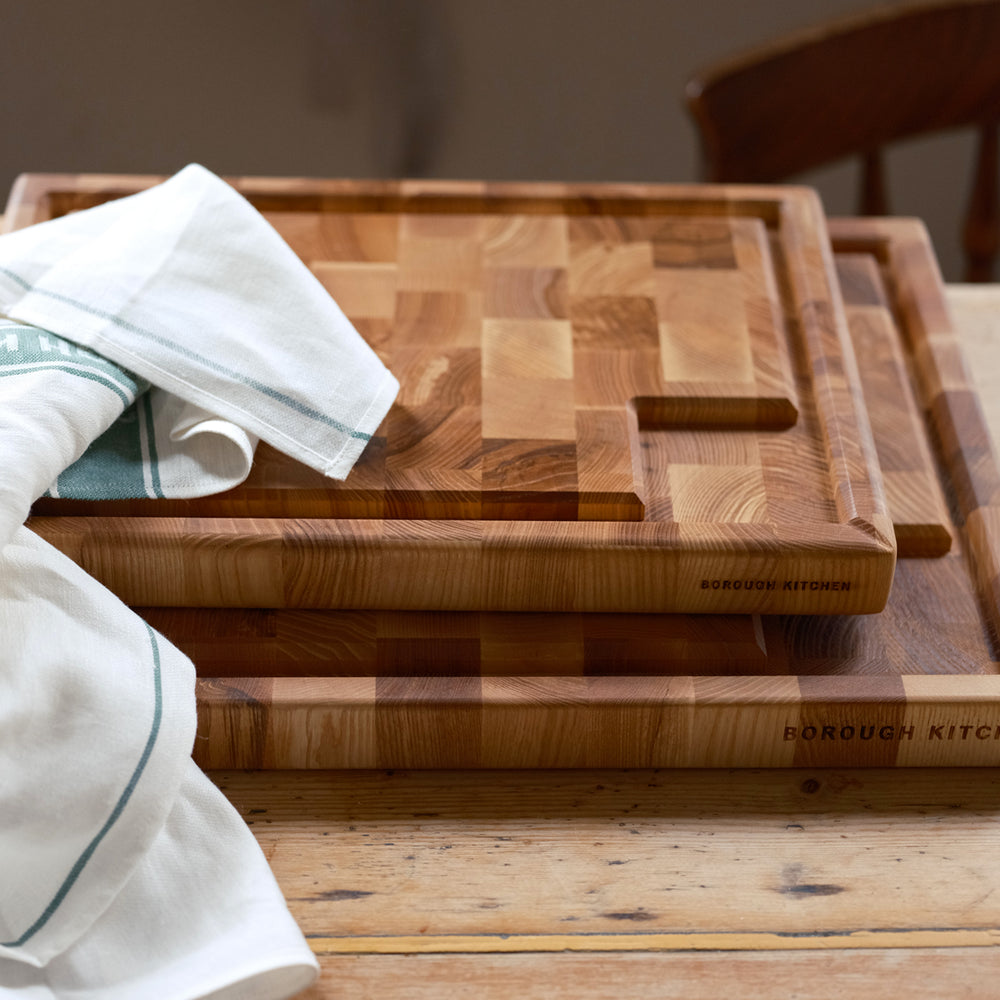
A sharp knife is, without a shred of doubt, the most important tool in your kitchen. But if your knife doesn’t have a good chopping board to land on, then its sharp edge will run out of mileage quickly. That’s the number one reason wooden boards are the gold standard of chopping boards in the culinary world. They are dense and sturdy, but can also absorb the shock of knife cuts without too much resistance. (Think of how much louder it sounds to cut on glass, stone or marble in comparison—which you should never do, by the way.)
Other reasons to love them include their thick construction, which allows stability on your countertop as you work, and how they are much more hygienic than other materials. On plastic chopping boards, for example, there is a risk of bacteria settling into deep knife grooves. But on wooden boards, bacteria gets absorbed into the wood and dehydrates to death. And let’s be honest, they are just gorgeous to look at and a pleasure to use.
So What’s the Catch?
They require a bit of extra maintenance. This maintenance should not be skimped on, otherwise, your wooden board runs the risk of warping or cracking. Since wooden boards take a good deal of skill to source and make, they are expensive—especially top-quality end-grain boards, where the fibres are perpendicular to the surface in order to provide the least resistance for knife cuts (and keep them super sharp).
But once you get into the groove of it, no pun intended, it won’t feel like extra effort at all. Any avid home cook who owns one can confirm it is 100% worth it. That’s why we put together these simple care and maintenance tips. Follow them closely and your wooden board will look shipshape for up to 10 years.
1. Wash & Dry Properly
Never put wooden boards in the dishwasher, or leave them to soak in the sink. This encourages mould and could result in cracks. Clean with warm water and washing-up liquid, then wipe it down with a dry cloth immediately, taking out as much moisture from the surface as possible. Then leave it to air-dry further in a place where all sides are exposed to open air—on a dish rack, for example, or upright on the counter, rather than inside a cupboard or straight against a wall.
Before you wash your board, it helps to first use a bench scraper or similar tool to remove as much residue from the surface as possible. This lets you spend less time washing the board and helps remove stubborn stuck-on bits too.
2. Mineral Oil Is Your Friend
A knife needs to be regularly sharpened to stay on top form. Likewise, your board needs to be regularly conditioned. As you’ve probably gathered, wood and water are not great pals—repeated exposure to water causes wood to dull, dry out and crack. However, you can’t not wash boards after food prep. That’s why mineral oil is your friend—it creates a protective barrier against moisture, which preserves the integrity of the wood and gives it a beautiful shine.
It’s important that you use food-safe mineral oil, like
this one from JK Adams, or wood butter, and not cooking oils like olive oil, vegetable oil, or nut oil. Any oil derived from plants can spoil, so always use an oil that is intended to treat wood.
To condition a board with mineral oil, rub the oil all over with a piece of cloth, including the sides. Don’t over-apply the oil; use just enough to permeate the surface. Let it sit—exposed to open air on all sides as much as possible—for at least an hour and up to 8 hours. Give it an assessment. If you think it needs more conditioning, repeat the process, but this won’t be necessary if you condition a board regularly.
Our recommendation? Every two weeks, and at the very least, once a month. As often as you sharpen your knives!
3. If a Smell Lingers…
Ridding your wooden board of lingering odours (looking at you, garlic) is easy. You can choose any of the following from whatever household item you have on hand. To be safe, we recommend doing a spot test on one small area of the board to make sure the wood or finish does not have an adverse reaction.
-
Bicarbonate of Soda: Mix one part soda bicarb with three parts water and scrub it on both sides of your board (more on that in the next tip). Let the mixture sit for a few minutes if the odours are strong. Then rinse and dry as usual.
-
Lemon and Salt: Sprinkle the board all over with salt and squeeze the juice of half a lemon over it. You can add more lemon juice or a bit of water to make it more paste-like in consistency. Use a cloth or the cut side of the lemon to rub the mixture over the board. Repeat on the other side. Rinse and dry. While some sources say you can swap the lemon for white vinegar, we do not recommend it as the odour is much stronger and more unpleasant than lemon.
4. Repeat on All Sides
Warping happens when one part of an object gets out of shape and affects the whole. That’s why it’s important to wash, dry, condition, and deodorise your boards on both sides. While it’s not completely necessary to do this for the sides of the board, we recommend doing so anyway, as it will result in a healthier, happier, and more durable wooden board.


