How to Season a Cast Iron, Carbon Steel or Spun Iron Pan
If you’re interested in getting, or have already purchased, a cast iron, carbon steel, or spun iron pan, then the most important thing to note is that you can't treat them like any other pan. They need to be seasoned and properly maintained to do their best work. The process is easy, but takes some getting used to. And it's 100% worth the effort.
First things first: What does it mean to season a pan? Simply put, it means creating a protective barrier ('patina') on the cooking surface of your pan. With time, use, and proper care, this protective barrier turns into a layer that releases food with ease. It won't be as 100% cling-free as a non-stick pan, but it will come close. These were the pans cooks used before non-stick, after all.
There's been a resurgence of interest in cast iron, carbon steel and spun iron recently because, unlike non-stick pans, you won't ever need to replace them (with proper non-stick pan care, non-stick pans will last up to ten years). Cast iron, carbon steel, and spun iron pans, on the other hand, are built to last a lifetime. In fact, they only get better with time, thanks to that patina.
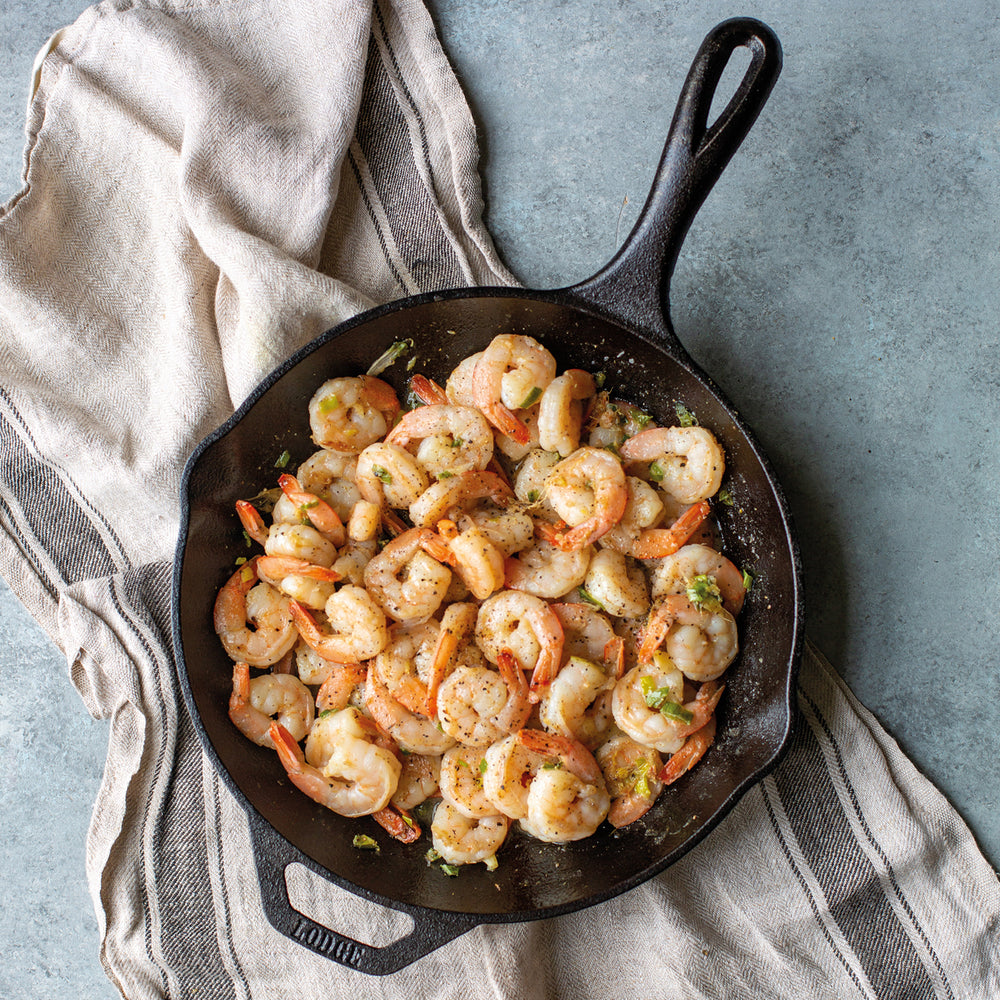
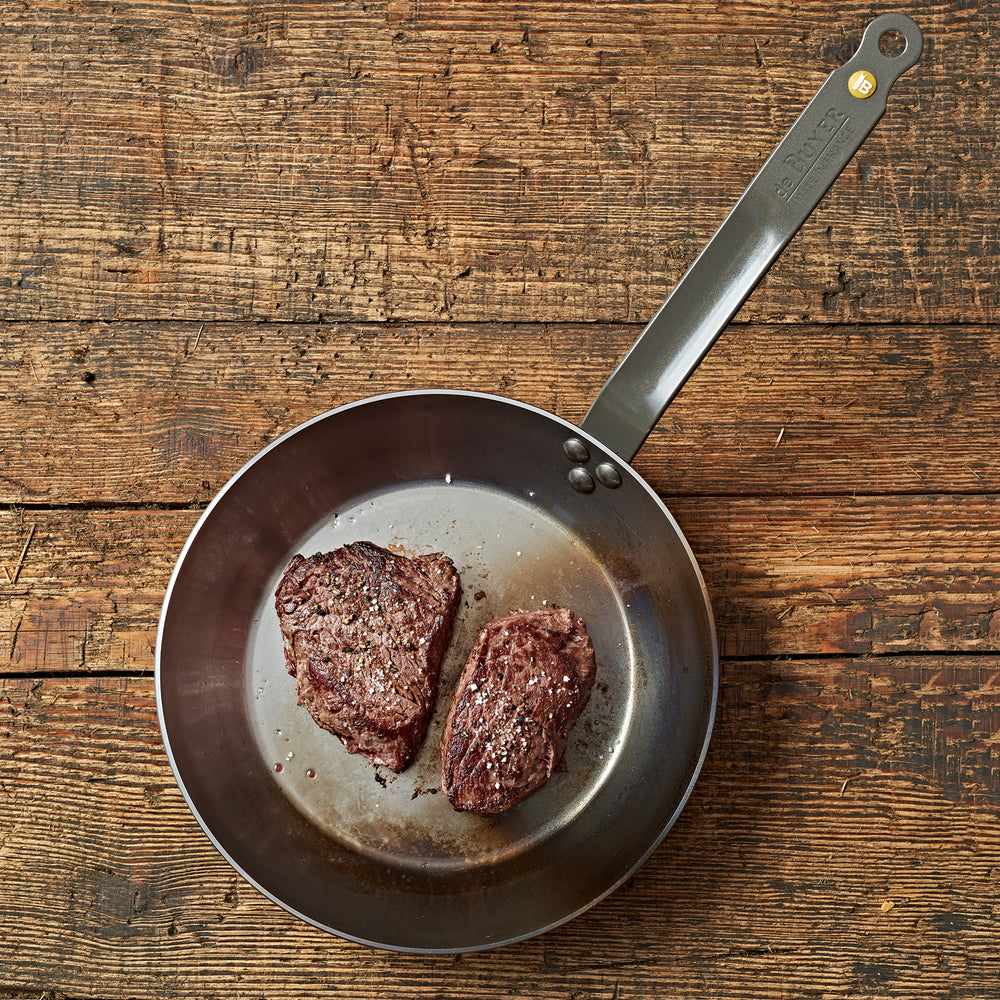
Another brilliant feature of cast iron, carbon steel, and spun iron pans is that these metals excel at reaching and retaining high levels of heat. Translation: perfectly seared meat and vegetables. Expect crispy-skinned salmon, charred Brussels sprouts that will woo even the pickiest of eaters. These pans are naturally induction hob compatible (if they have flat bases), and will work on open barbecues too. As long as the handles are oven-safe, they will work in the oven and covered barbecues like the Big Green Egg too.
First things first: What does it mean to season a pan? Simply put, it means creating a protective barrier ('patina') on the cooking surface of your pan. With time, use, and proper care, this protective barrier turns into a layer that releases food with ease. It won't be as 100% cling-free as a non-stick pan, but it will come close. These were the pans cooks used before non-stick, after all.
There's been a resurgence of interest in cast iron, carbon steel and spun iron recently because, unlike non-stick pans, you won't ever need to replace them (with proper non-stick pan care, non-stick pans will last up to ten years). Cast iron, carbon steel, and spun iron pans, on the other hand, are built to last a lifetime. In fact, they only get better with time, thanks to that patina.
Another brilliant feature of cast iron, carbon steel, and spun iron pans is that these metals excel at reaching and retaining high levels of heat. Translation: perfectly seared meat and vegetables. Expect crispy-skinned salmon, charred Brussels sprouts that will woo even the pickiest of eaters. These pans are naturally induction hob compatible (if they have flat bases), and will work on open barbecues too. As long as the handles are oven-safe, they will work in the oven and covered barbecues like the Big Green Egg too.
In exchange for all that, all these pans ask of you is that you do not put them in the dishwasher, and avoid washing up liquid until the patina is strong. That's because dish detergent is highly abrasive, and can dissolve that beautiful patina that makes these pans so easy-release. However, if your pan is well-seasoned, a little bit of washing-up liquid dissolved in warm water will not strip away the patina significantly. (If it does, you can re-season the pan according to instructions below, and it will be back in good shape.) Until your pan has developed a patina, we recommend cleaning your pan with warm water and coarse salt.
They also should never be left wet, as exposure to humidity could cause them to rust—nothing a bit of re-seasoning can’t take care of, but still inconvenient.
They also should never be left wet, as exposure to humidity could cause them to rust—nothing a bit of re-seasoning can’t take care of, but still inconvenient.
Though all this might sound like too much work, the benefits outweigh the maintenance needs. And the more you use these pans, the stronger the patina becomes, becoming easier to maintain with time.

In this article, we’ll walk you through the initial seasoning (what to do before you first use the pan to cook) and regular cleaning (what to do after each use). If a pan comes pre-seasoned, you can skip the initial seasoning. However, we’d recommend doing it anyway, because it’s a surefire way to bond oil to the surface of your pan and kickstart that easy-release layer. Plus, it only takes about 15 minutes; or, if you prefer a longer but more hands-off process, an hour. But this is entirely optional for pre-seasoned pans.
If for some reason the pan gets rusty or loses some of its stick-resistance – say, a well-intentioned dinner guest uses washing-up liquid to clean the pan – you can re-season it back to good health using the initial seasoning methods below. We mean it when we say these pans last a lifetime.
What's the Difference Between Cast Iron & Carbon Steel?
Cast iron and carbon steel pans are all made from iron, but the differences lie in A) their carbon content and B) how they are made.
Cast iron pans have a carbon content of 2-4%, while carbon steel pans actually have less carbon (about 1%). The higher carbon content makes cast iron pans less malleable, so they need to be cast into moulds. This makes them thicker and less heat responsive than carbon steel. However, they retain heat better, making them ideally suited for baking-related tasks such as cornbread and crumbles.
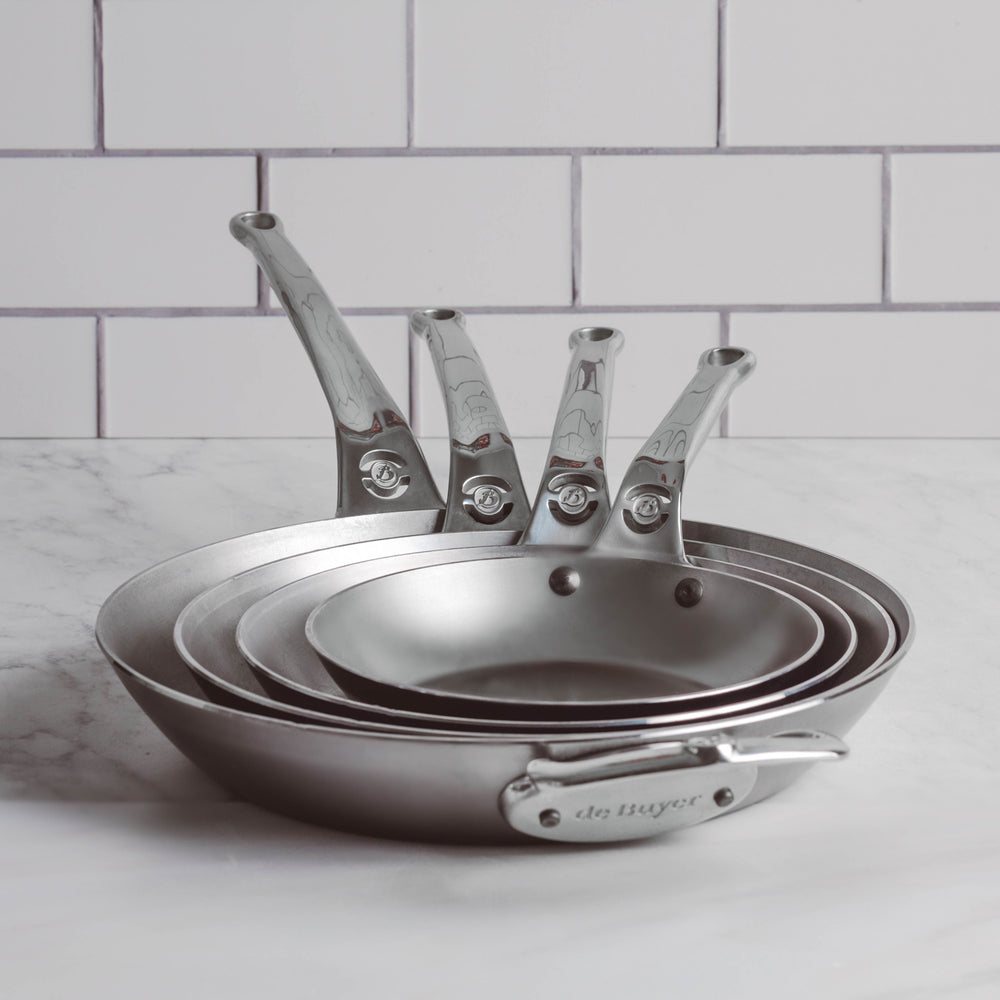
Since they are more malleable, carbon steel pans can be rolled and pressed into thinner sheets, and thus shaped like traditional frying pans. This makes carbon steel pans more heat-responsive, and best suited for on-the-hob cooking. (Some carbon steel pans are not suitable for use in the oven, while all cast iron pans are oven-friendly.) This also makes carbon steel pans less likely to crack if dropped.
Since they are more malleable, carbon steel pans can be rolled and pressed into thinner sheets, and thus shaped like traditional frying pans. This makes carbon steel pans more heat-responsive, and best suited for on-the-hob cooking. (Some carbon steel pans are not suitable for use in the oven, while all cast iron pans are oven-friendly.) This also makes carbon steel pans less likely to crack if dropped.
Spun iron pans are a newer invention, and they have similar properties to carbon steel, as they have also been shaped into a thinner construction.
Which Pans Need Initial Seasoning?
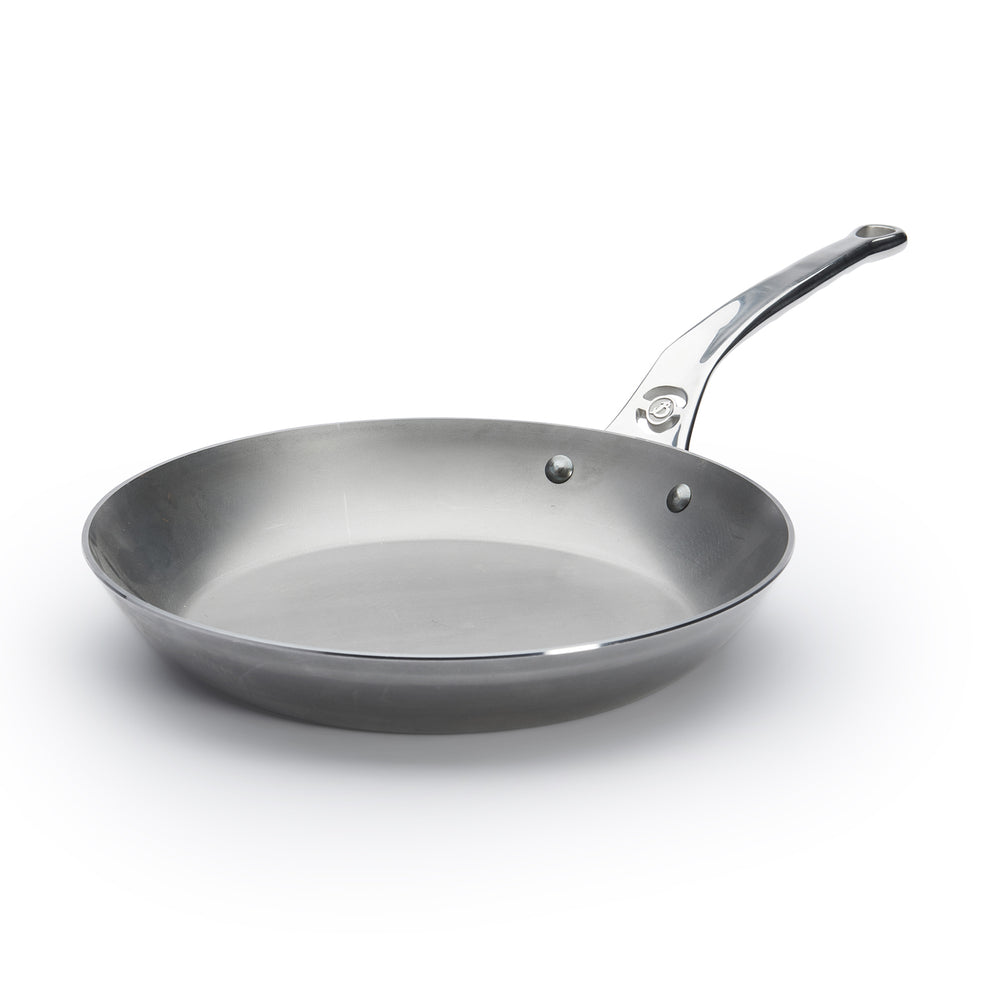
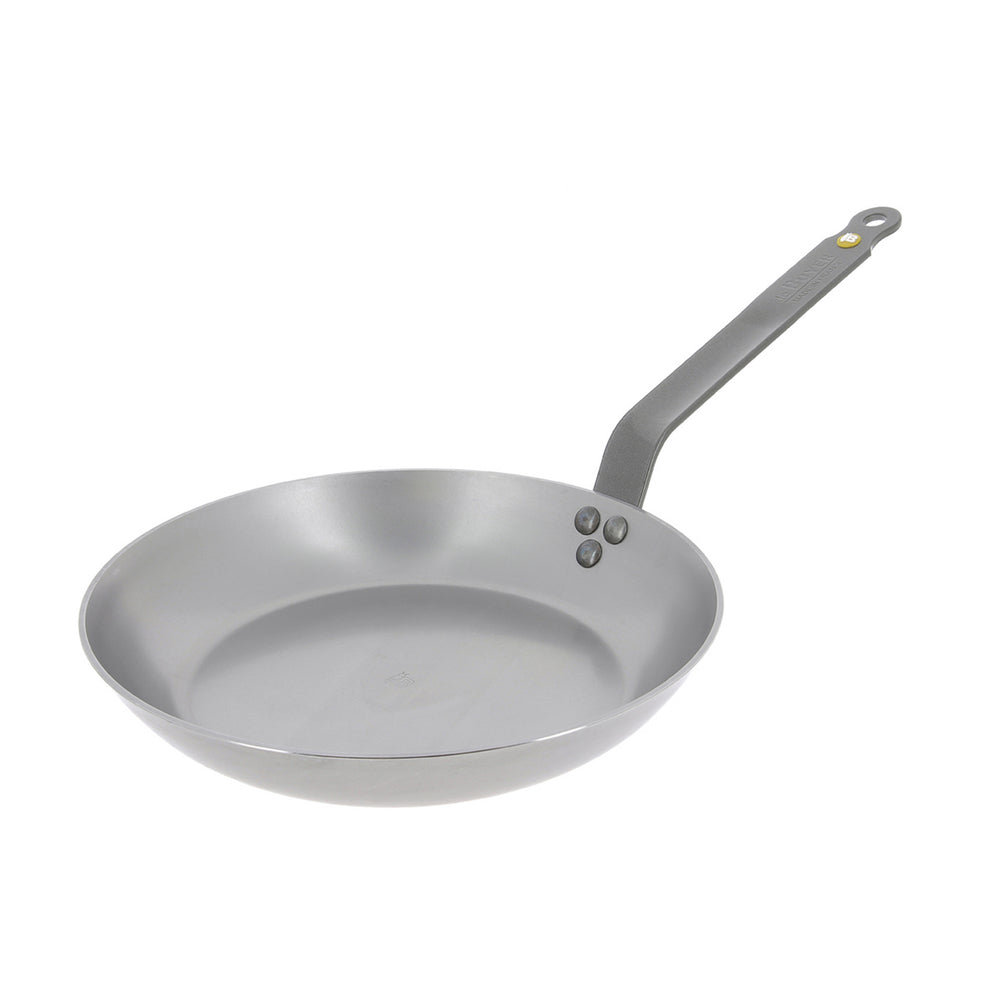
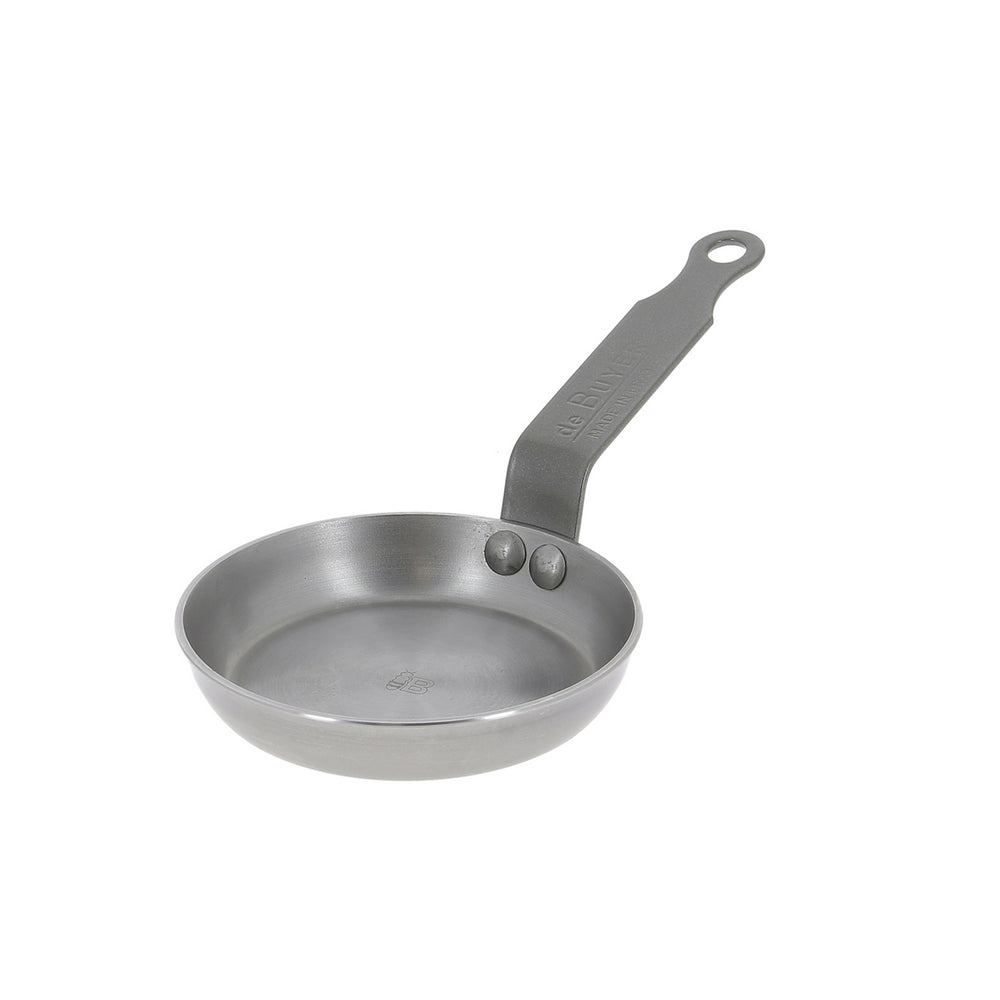
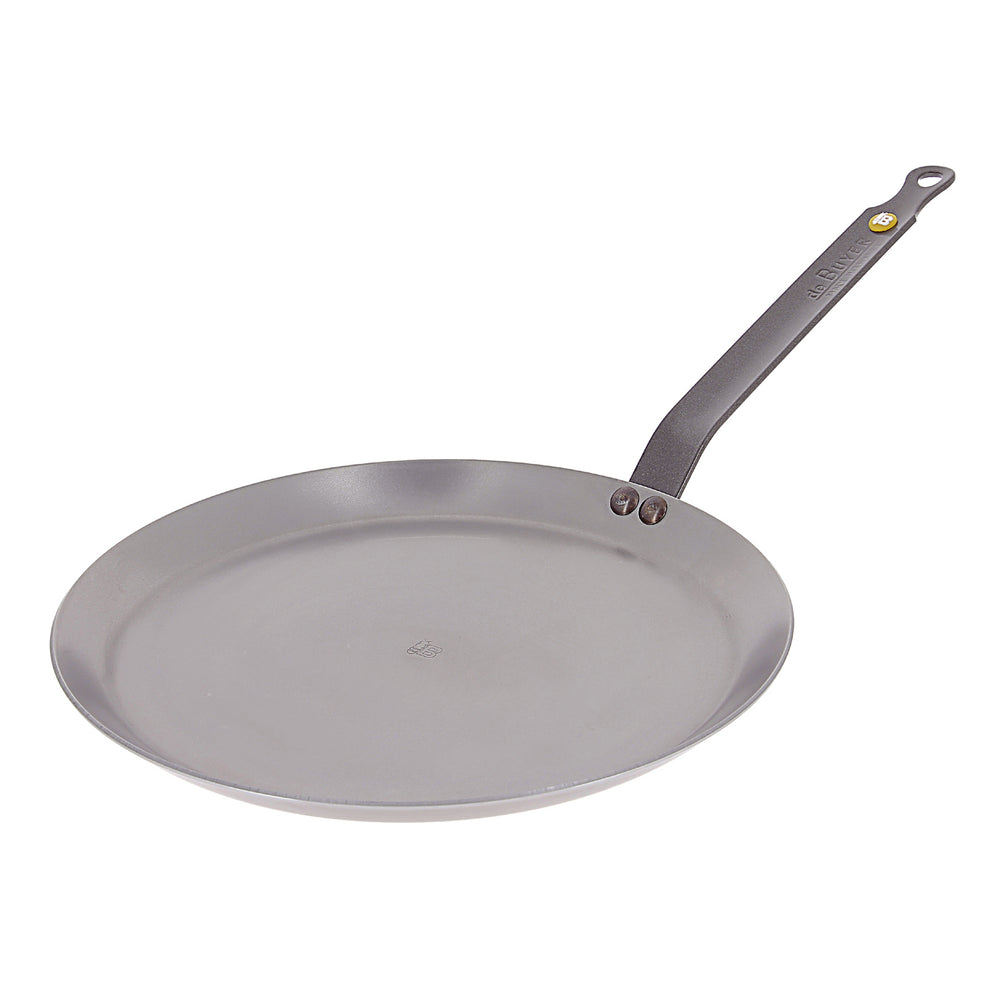
The carbon steel pans we carry from De Buyer, as well as the carbon steel paella pans and woks we stock from various suppliers (such as the Spring Canton Wok), must be seasoned prior to use.
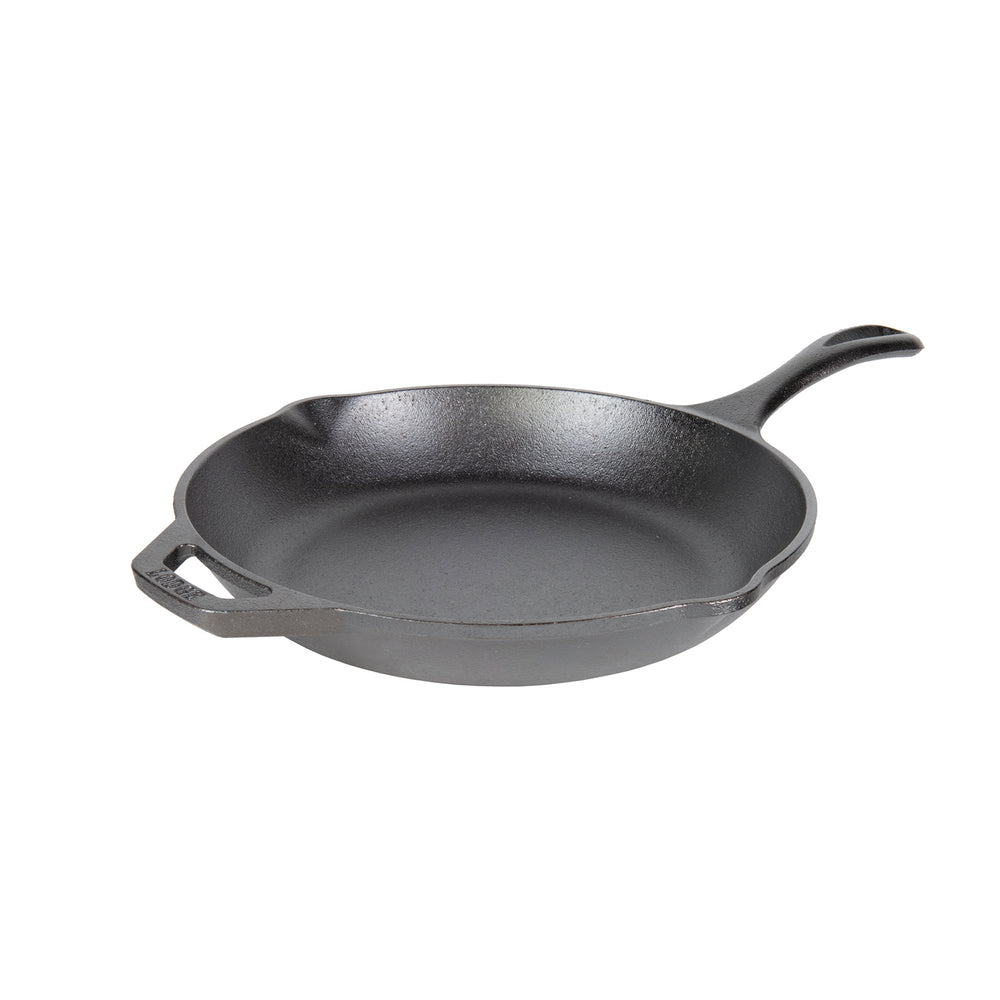
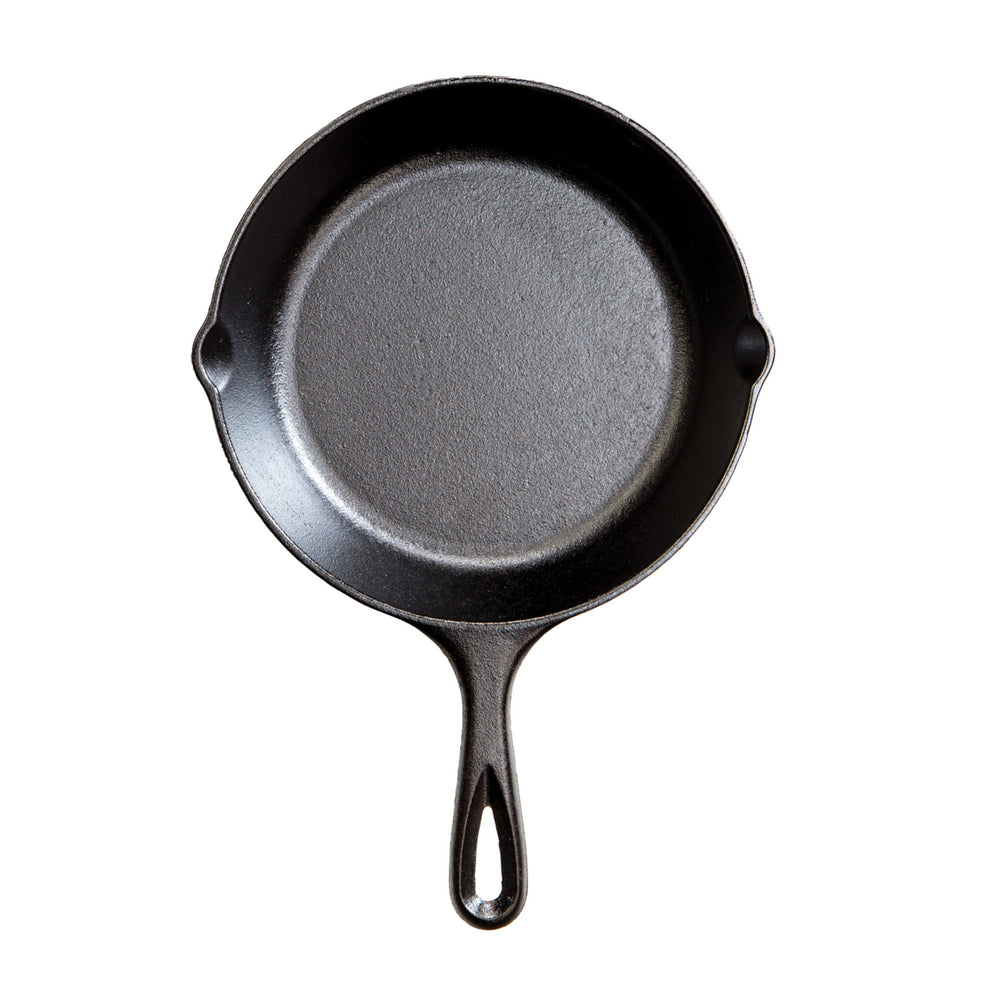
The pans we sell from Lodge, Finex and Netherton Foundry – which you’ll notice are black upon purchase – come pre-seasoned, meaning the manufacturers have taken care of it and you can get cooking right away. Just make sure to use plenty of oil the first few times to get your pan used to handling food.
Enamelled cast iron pans, like the ones we carry from Staub, do not need to be seasoned, and you can clean them with regular washing-up liquid. That’s because the cast iron is covered with a layer of enamel, which prevents it from rust and allows it to act like a regular pan.
A quick way to tell if a pan needs seasoning is to look at the colour of its interior. If it’s black or very dark, it’s seasoned; if it’s a lighter grey, it needs to be seasoned. You’ll notice most carbon steel pans are grey when you purchase them. The more you use it, the darker it gets – it changes from shiny silver to brown and blotchy. Blotches are a sign the pan is building up a patina, which will help it become increasingly non-stick. Once fully coated, it will become uniformly dark.

Initial Seasoning
You can season a pan on the hob or in the oven. If using the oven, make sure the pan's handle is completely oven-safe. (De Buyer Mineral B Pans or any pan with a wooden handle must be seasoned on the hob, as their handles are not oven-safe.) For the hob method, follow these steps:
- If your pan is not-pre-seasoned, wash the pan with warm water and washing-up liquid. It's fine to use washing-up liquid here, as you'll be re-seasoning the pan and, in the case of De Buyer carbon steel pans, removing the beeswax coating. If your pan is pre-seasoned, you can just rinse the pan and skip the soap. Dry the pan with a towel, then put on low heat to finish drying.
- Add about enough vegetable or other high-burning oil to cover the base of the pan by about 1/2 cm, plus a few tablespoons of salt and peels from two potatoes (this helps pull any remaining impurities from the pan’s surface). Raise the heat to medium, using tongs to occasionally move the peels around the pan and up the sides to the rim, for 8 to 10 minutes (the pan will turn brown).
- Discard the contents, allow pan to cool, then wipe with paper towels.
- Your pan is now pre-seasoned. It won’t be perfectly easy-release the first time – this takes time and use – but it kick-starts the process. After each use, follow the instructions under the next section, titled ‘Regular Cleaning’.
To season your pan in the oven, follow the steps below. This method will work for Lodge cast iron pans, De Buyer Mineral B Pro carbon steel pans, and Netherton Foundry pans that do not have wood handles.
- Heat your oven to 220°C / 200°C fan. Rinse the pan with warm water and washing-up liquid (just rinse if the pan is pre-seasoned). Dry with a towel.
- Place the empty pan over low heat for 2-3 minutes; this opens up its pores. Turn off the heat and pour enough high-burning vegetable oil into the pan that it covers the bottom (up to 1/2 cm) and rub it all over the inside and outside of the pan using kitchen roll or a tea towel. Try to ensure that there is no excess oil – you want just enough for the pan to soak in; any excess might result in sticky patches.
- Place the pan in the oven and leave it there for one hour. Then turn off the heat but keep the pan in the oven until it has completely cooled.
Here's a visual reference Lodge, which varies slightly from our preferred method but still works well. (In British ovens, that's 200°C fan.)
Regular Cleaning
All that’s required to clean a cast iron, carbon steel, or spun pan after use is hot (not boiling) water. If there is food stuck to the pan, use a wooden spoon to remove as much of it as possible. You can also rub salt around the pan using a kitchen roll or soft sponge, as its abrasiveness helps remove food residue. It helps when the pan is hot, so just before cleaning, we recommend re-heating the pan slightly before you clean it. Once that’s done, dry the pan completely before storing.
For an *additional* patina boost, which is optional but useful, you can return the pan to the hob. Over low heat, add very little high-burning vegetable oil and use kitchen roll to rub it all over the pan. Once the pan feels hot (place your hand a few inches above the pan) and the oil seems to have burned off, turn off the heat. Wipe off any residual oil and store.
If your pan looks stubbornly dirty, you can use a few spoons of bicarbonate of soda, diluted with water to make a paste. Scrub this all over the pan and wash away the dirt. However, note that this method might require re-seasoning the pan if your patina is not strong enough, as it is more abrasive than salt.
If your pan looks stubbornly dirty, you can use a few spoons of bicarbonate of soda, diluted with water to make a paste. Scrub this all over the pan and wash away the dirt. However, note that this method might require re-seasoning the pan if your patina is not strong enough, as it is more abrasive than salt.
Tips for Cast Iron Cooking & Care
- Until you are confident in your pan’s patina, use oil when you cook in an iron or carbon steel pan. Make sure to only use oils with high burn (smoke) points, such as rapeseed, groundnut and vegetable oil, as these pans get very hot and low burn oils, like extra virgin olive or sesame oil, could scorch the pan and leave a sticky film.
- Do not cook acidic ingredients (tomatoes, wine, citrus) in a cast iron, carbon steel, or spun iron pan, unless your pan is very well seasoned. These ingredients will degrade the seasoning. Even with a well-seasoned pan, we do not recommend cooking these ingredients for a prolonged period of time (above 10 minutes). It is important, for safety reasons, to have a well-seasoned pan, in order to create a barrier between the carbon steel and your food.
- Abrasive scrubbers, such as steel wool, are not recommended; use a lighter-weight bristle brush or kitchen towel. Don’t leave your pan to soak, as this will cause the pan to oxidise (and you’ll have to re-season it).
- Always make certain the pan is totally dry before storing. For total dryness, you can heat it on the hob or in the oven.
- If you accidentally scrub off some of the patina, wipe the pan with a thin coat of oil and place it over high heat for about 10 minutes until the pan darkens (it will smoke; turn on an exhaust fan).
- The cooking of acidic foods – tomatoes, white wine, citrus – may cause the appearance of white stains, especially on pans that have yet to build a strong patina. If this occurs, the pan should be seasoned again.
Your pan’s patina gets stronger and more hardy with every use, so don’t think you’ll be seasoning and re-seasoning your pan constantly. The absolute best way to ensure a good patina on your pan is to cook in it. Easy enough, right?